
Table of Contents
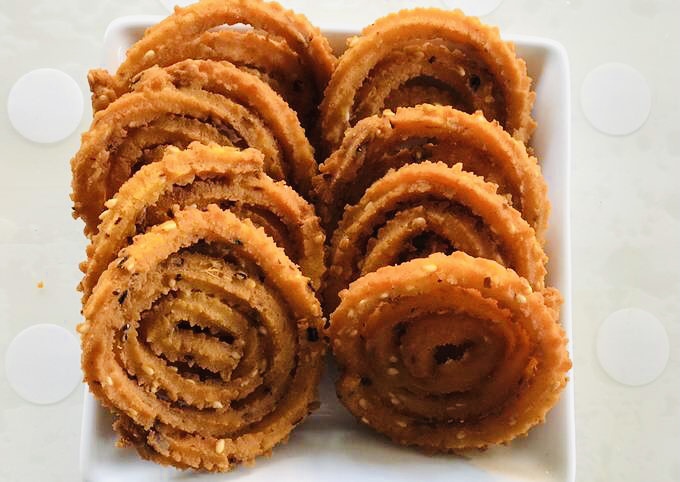
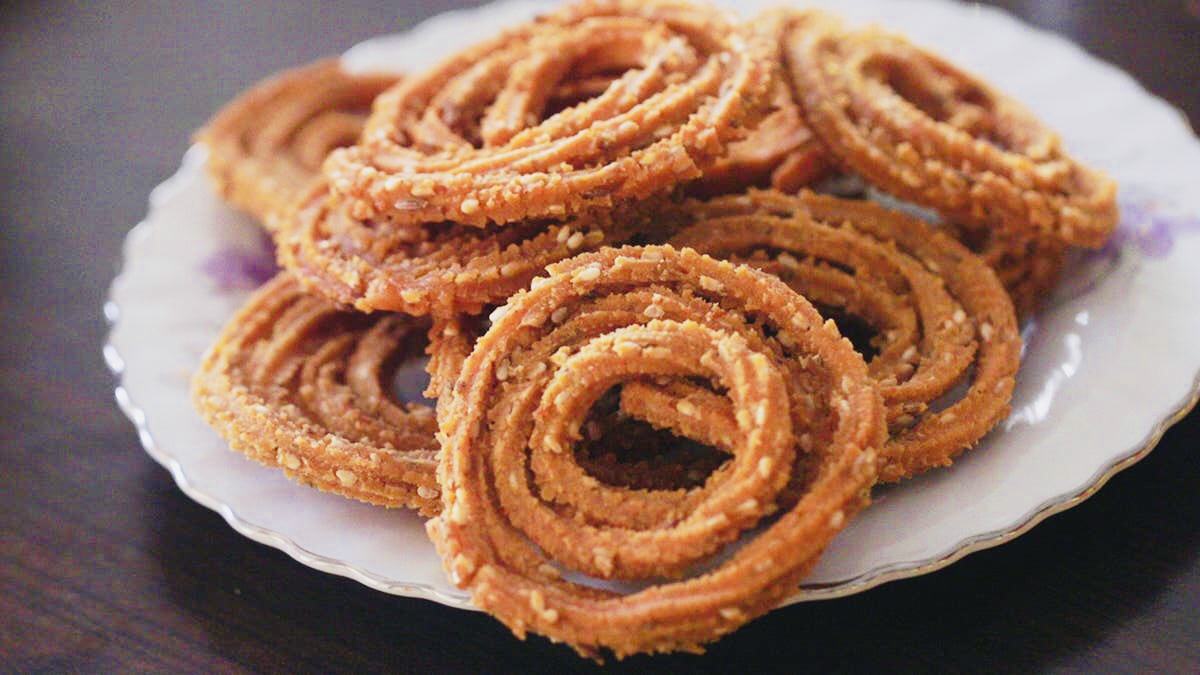
Chakri is a popular Indian snack known for its unique spiral shape and crispy texture. It is made using rice flour, gram flour (besan), and a blend of spices. The dough is prepared by mixing the flours with spices like cumin seeds, sesame seeds, red chili powder, turmeric powder, asafoetida (hing), and salt. Clarified butter (ghee) is added to the mixture to enhance the flavor and texture.
Once the dough is prepared, it is shaped using a chakkri maker or murukku press, which extrudes the dough through a star-shaped disc, creating the signature spiral pattern. The shaped chakkris are then deep-fried until golden brown and crispy.
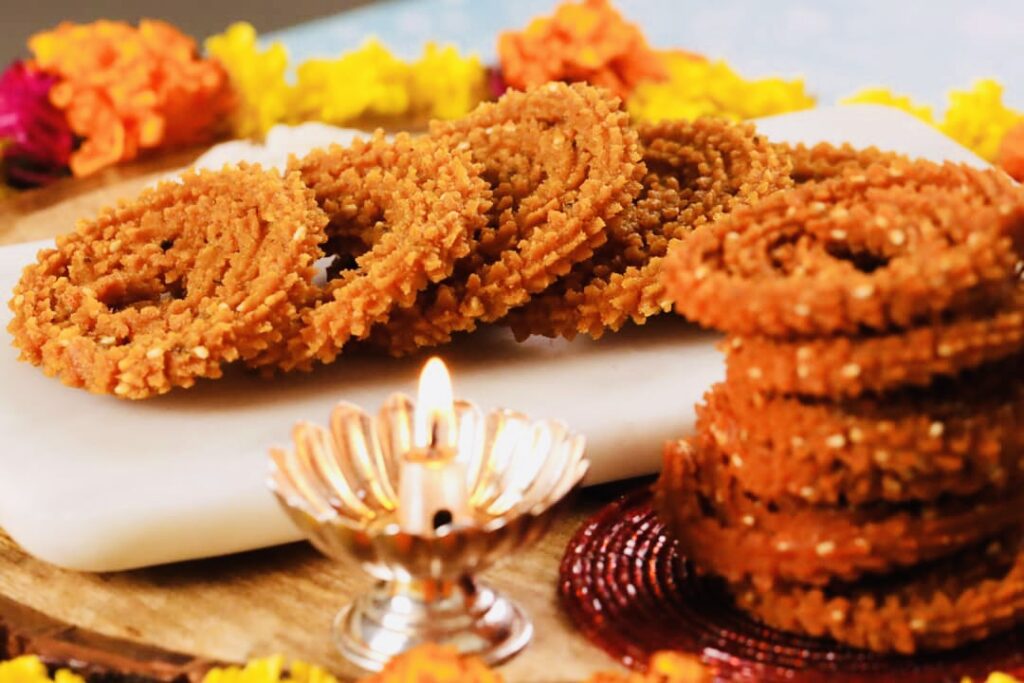
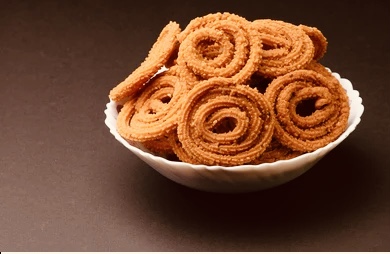
Chakris can be enjoyed as a standalone snack or paired with tea or other beverages. They are often served during festivals, celebrations, or as a popular tea-time snack. Their crunchy texture and flavorful spices make them highly addictive and satisfying.
Chakris can be stored in an airtight container for several weeks, making them a convenient snack option. Whether you’re hosting a gathering or craving a savory treat, Chakkris are a delightful choice that brings a burst of flavor and crunch to your palate. Follow these step-by-step instructions to make delicious Chakkri at home.
Ingredients Of Chakri Recipe:
- 2 cups rice flour
- ½ cup gram flour (besan)
- 2 tablespoons clarified butter (ghee)
- 1 teaspoon cumin seeds
- 1 teaspoon sesame seeds
- 1 teaspoon red chili powder
- ½ teaspoon turmeric powder
- ½ teaspoon asafoetida (hing)
- Salt to taste
- Water as needed
- Oil for deep frying
Step By Step Instructions Of Chakri Recipe:
Step 1: Prepare the Dough
In a large mixing bowl, combine rice flour, gram flour, cumin seeds, sesame seeds, red chili powder, turmeric powder, asafoetida, and salt. Mix all the dry ingredients well. Then, add the clarified butter (ghee) and mix it into the flour mixture until it resembles bread crumbs.
Step 2: Knead the Dough]
Gradually add water, a little at a time, and knead the mixture into a smooth and pliable dough. Make sure the dough is not too soft or too hard. Cover the dough with a damp cloth and let it rest for 15-20 minutes.
Step 3: Prepare the Chakri Maker
Meanwhile, set up the chakkri maker, also known as the murukku press. Attach the desired disc with a star-shaped opening to the chakri maker. Grease the inside of the chakkri maker and disc with oil. This will help in easy extrusion of the dough.
Step 4: Shape the Chakri
Divide the dough into small portions. Take one portion and roll it between your palms to form a cylindrical shape. Place the dough cylinder into the chakkri maker and close it tightly. Hold the chakkri maker over a clean, dry surface and press it gently to extrude the dough through the disc, forming a spiral shape. Continue this process with the remaining dough portions.
Step 5: Fry the Chakri
Heat oil in a deep pan or kadai over medium heat. To check if the oil is ready, drop a small piece of dough into the oil. If it rises to the surface immediately without changing color, the oil is hot enough. Carefully slide the shaped chakkris into the hot oil, making sure not to overcrowd the pan. Fry them until they turn golden brown and crispy. Flip them occasionally for even frying.
Step 6: Drain and Cool
Once the chakris are fried to perfection, remove them from the oil using a slotted spoon and transfer them to a plate lined with paper towels. This will help absorb any excess oil. Allow the chakkris to cool completely before storing them in an airtight container.
Step 7: Repeat and Enjoy
Repeat the frying process with the remaining chakri dough portions. Once all the chakkris are fried and cooled, you can serve them as a snack or store them for later use. Chakkris stay fresh for several weeks if stored properly in an airtight container.
Now, you have successfully prepared crispy and delicious Chakkris at home. Serve them with a cup of tea or enjoy them as a standalone snack. Happy snacking!
Note: The cooking time and oil temperature may vary, so it’s important to keep an eye on the chakkris while frying to prevent them from burning.


2 thoughts on “Chakri Recipe | Just In 7 Easy Steps.”