
Table of Contents
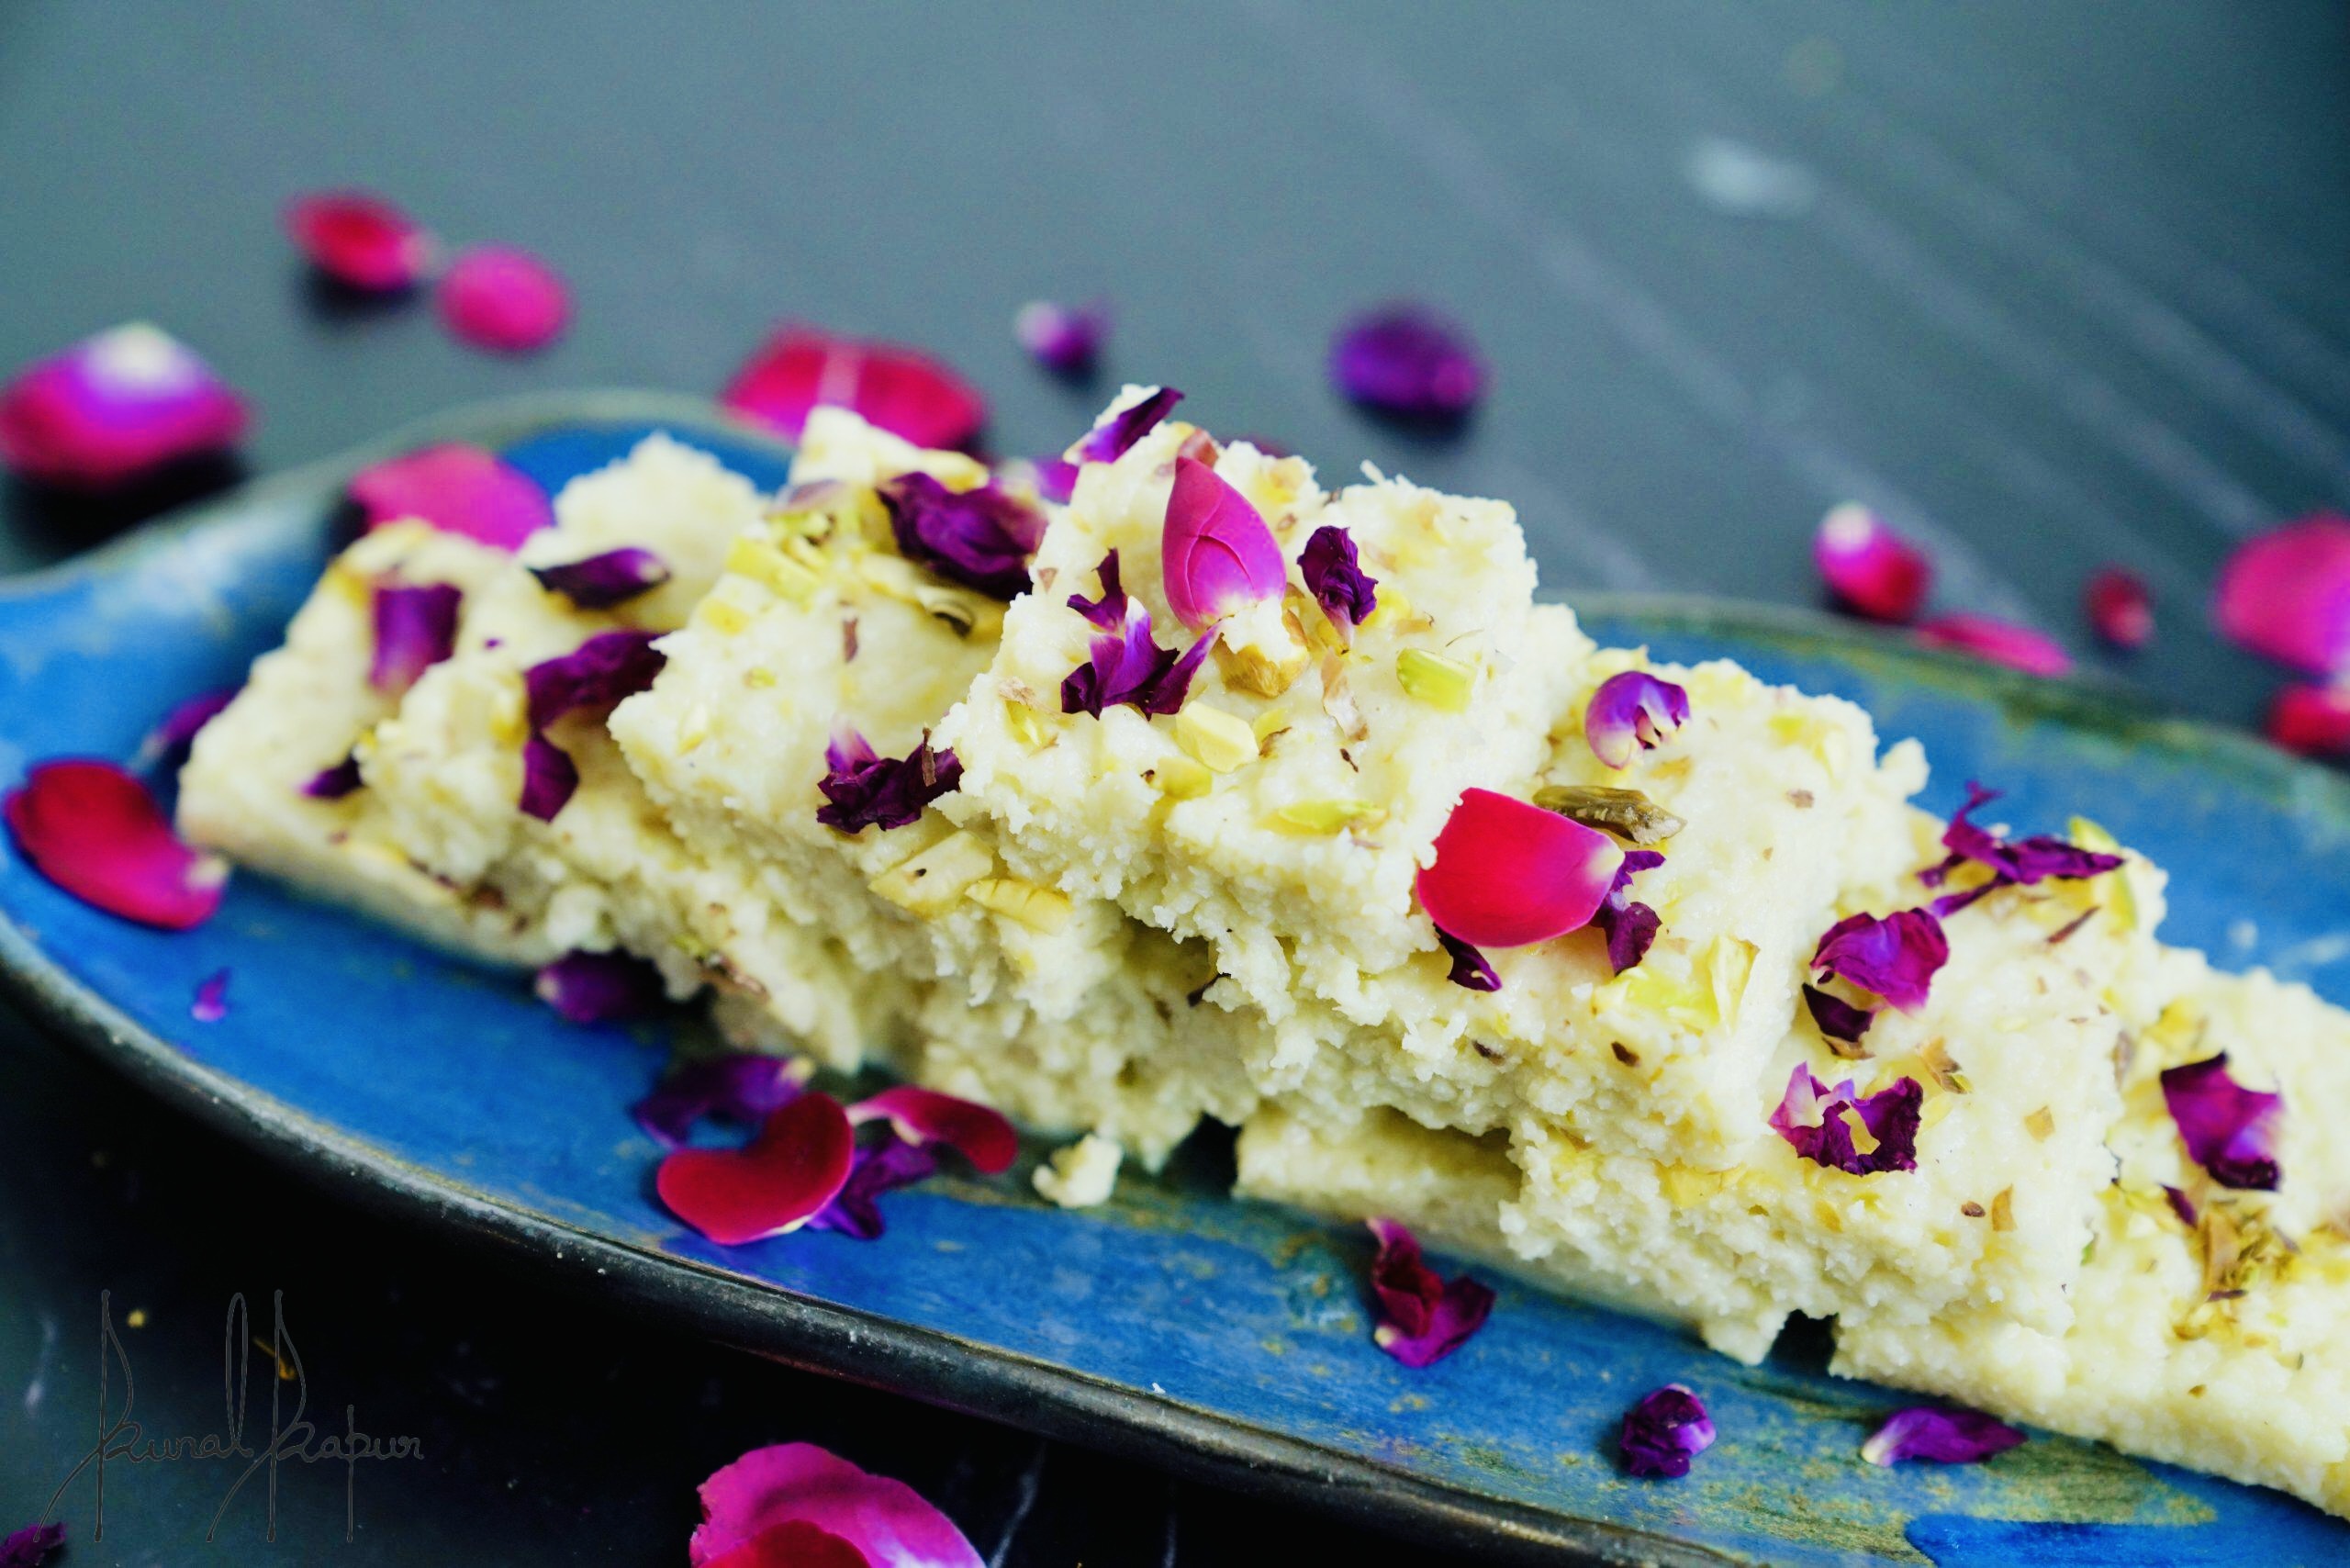
Kalakand is a traditional Indian sweet that originates from the state of Rajasthan. It is made by curdling milk and then cooking it with sugar and flavorings until it solidifies into a fudge-like consistency. The name “Kalakand” is derived from two Hindi words: “kala” meaning black and “kand” meaning sweet. It is known for its rich, creamy texture and delectable taste.
To make Kalakaand, full-fat milk is boiled and curdled using an acidic ingredient like lemon juice or vinegar. The whey is separated from the solid milk solids called chenna. The chenna is then cooked with sugar, often flavored with cardamom or other aromatic spices. The mixture is simmered until it thickens and starts to leave the sides of the pan. Finally, it is set in a tray, garnished with nuts, and left to cool and solidify.
Kalakand is a popular dessert during festivals and celebrations in India, particularly during Diwali and Raksha Bandhan. It is loved for its luscious texture, delicate sweetness, and the richness of milk and nuts. Kalakand can be enjoyed as is or paired with a cup of tea or coffee. It is a beloved sweet that brings joy to those who indulge in its heavenly flavors.
Kalakand is a popular Indian sweet made from solidified milk and sugar. It has a rich, creamy texture and is often garnished with nuts. Here is a step-by-step recipe to make Kalakand at home:
Ingredients Of Kalakand:
- 1 liter full-fat milk
- 1 cup sugar
- 1/4 cup lemon juice
- 1/4 teaspoon cardamom powder
- A handful of chopped nuts (almonds, pistachios, etc.) for garnishing
Step By Step Instructions Of Kalakand Recipe:
Step 1: Prepare the Milk
Pour the milk into a large, heavy-bottomed pan and place it over medium heat. Let the milk come to a gentle boil, stirring occasionally to prevent it from sticking to the bottom.
Step 2: Curdle the Milk
Once the milk starts boiling, reduce the heat to low. Add the lemon juice gradually, stirring continuously. The acid in the lemon juice will curdle the milk and separate the whey from the solids. Keep stirring until the whey is completely separated.
Step 3: Strain the Curdled Milk
Line a sieve or colander with a muslin cloth or cheesecloth. Place the sieve over a large bowl or sink. Carefully pour the curdled milk into the cloth-lined sieve. The whey will drain out, leaving behind the solid milk solids, also known as chenna.
Step 4: Rinse the Chenna
Rinse the chenna under cold running water to remove any traces of lemon juice. Gather the corners of the cloth and squeeze gently to remove excess water. Be careful not to squeeze out too much moisture.
Step 5: Cook the Chenna
Transfer the chenna to the same pan you used to boil the milk. Place it over medium-low heat and cook for 10-15 minutes, stirring constantly. The chenna will start to thicken and come together.
Step 6: Add Sugar and Cardamom
Add the sugar to the cooked chenna and continue to stir. The sugar will melt and combine with the chenna. Cook for another 10-15 minutes, or until the mixture thickens further and starts to leave the sides of the pan. Stir in the cardamom powder for flavor.
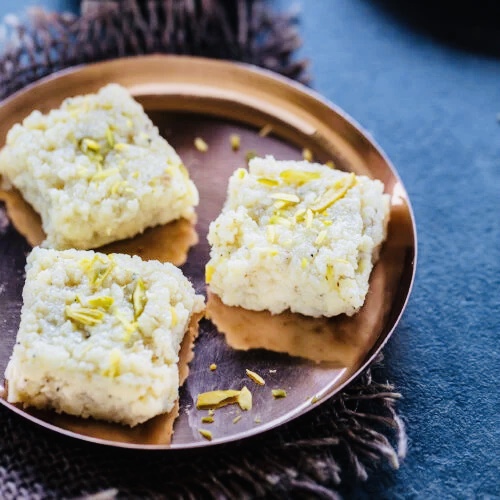
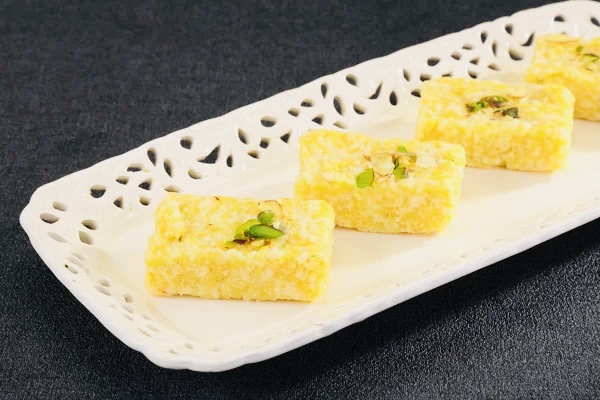
Step 7: Set the Kalakand
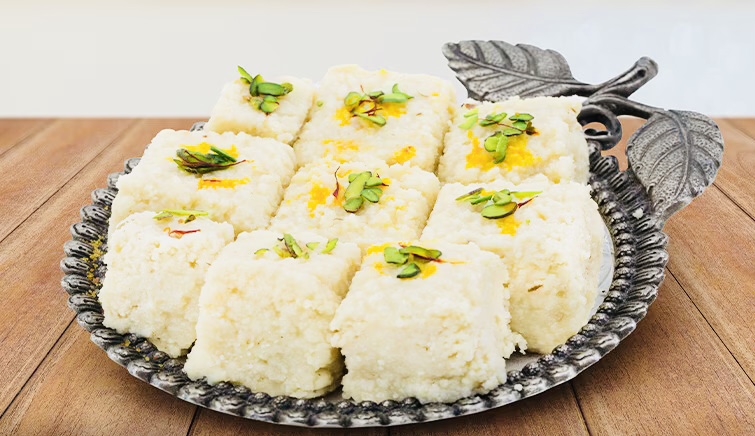
Prepare a square or rectangular tray by greasing it with ghee or lining it with parchment paper. Transfer the cooked chenna mixture to the tray and spread it evenly. Press down gently to smoothen the surface. Garnish with chopped nuts, pressing them lightly into the mixture.
Step 8: Cool and Cut
Allow the Kalakand to cool at room temperature for 1-2 hours. Once it has cooled, refrigerate it for a few hours or overnight to set completely. The Kalakand will solidify further and become firmer.
Step 9: Serve and Enjoy
Once the Kalakand is well-set, remove it from the refrigerator. Cut it into square or diamond-shaped pieces. Serve the delicious Kalakand as a dessert or offer it as a sweet treat on special occasions.
Making Kalakand at home requires patience and attention to detail, but the end result is a delightful sweet that will be enjoyed by everyone.


5 thoughts on “Kalakand Recipe | Just In 7 Easy Steps.”