
Table of Contents

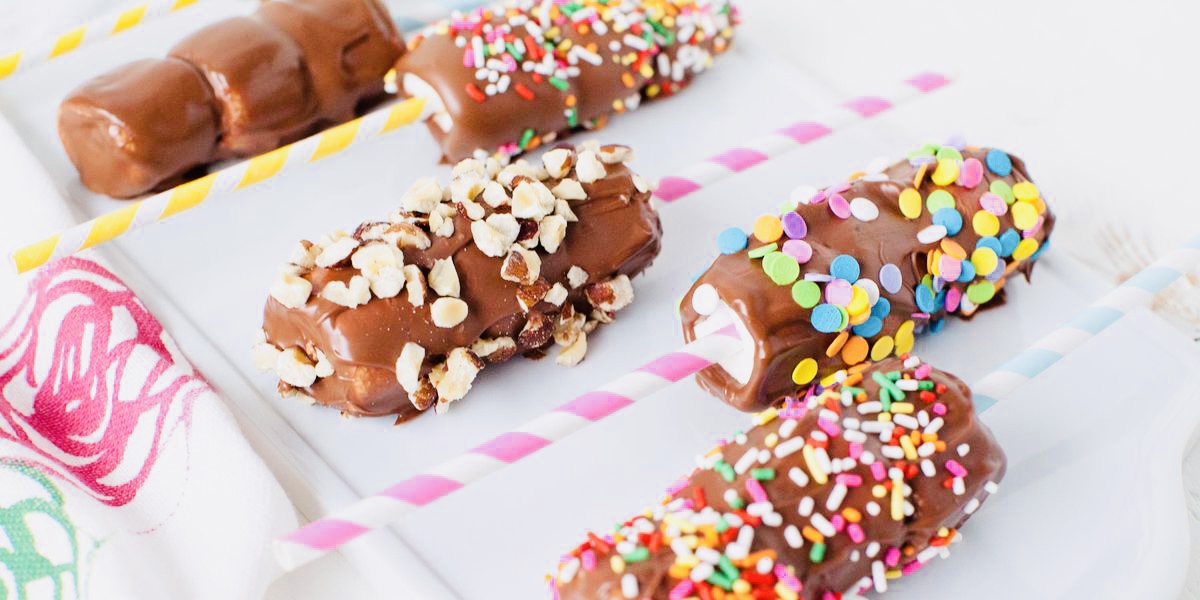
Marshmallow pops are delightful and whimsical treats that are perfect for parties, celebrations, or as a fun and easy-to-make snack. These delightful confections consist of marshmallows mounted on sticks or straws and adorned with a variety of creative and colorful decorations.
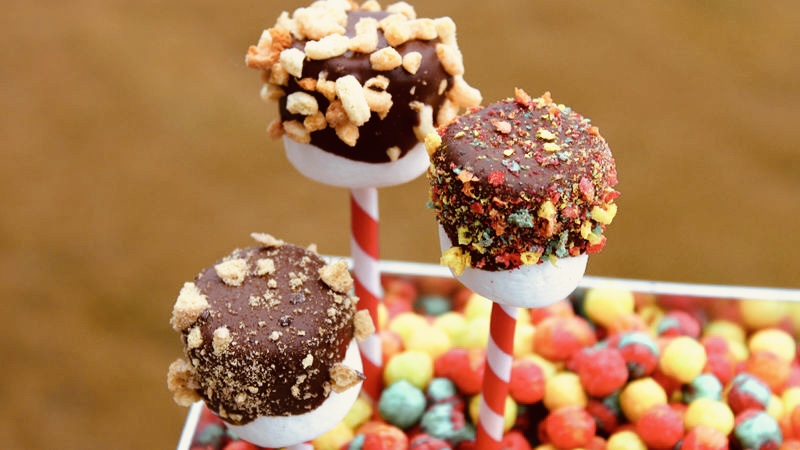
To create marshmallow pops, you’ll need a selection of marshmallows, candy melts, or chocolate for dipping, and an assortment of toppings such as sprinkles, crushed cookies, chopped nuts, or edible glitter. The process is simple: melt the candy coating, dip the marshmallows into it, then quickly sprinkle the toppings before the coating solidifies.
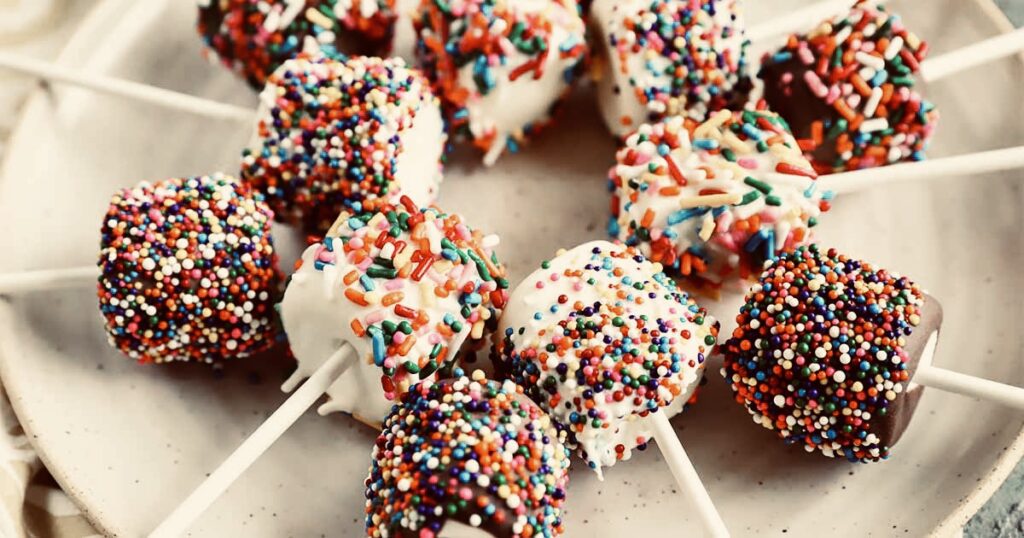
The beauty of marshmallow pops lies in their versatility. You can customize them to match any theme or occasion, making them a popular choice for birthday parties, baby showers, and holiday gatherings. Kids and adults alike adore their delectable taste and eye-catching appearance.
Beyond being visually appealing, marshmallow pops are also incredibly easy to make, making them a fantastic project for involving children in the kitchen. Their bite-sized nature ensures a portion-controlled treat, adding to their appeal as a charming party favor or gift.
Ingredients and Supplies Of Marshmallow pops Recipe:
Before you begin, make sure you have all the necessary ingredients and supplies:
- Marshmallows (regular or mini-sized)
- Candy melts or chocolate chips (in various colors)
- Lollipop sticks or paper straws
- Sprinkles, crushed cookies, or other toppings (optional)
- Styrofoam block or a tall glass for drying and displaying pops
- Parchment paper or wax paper
- Microwave-safe bowls
- Spoon or silicone spatula
- Decorative ribbons (optional, for finishing touches)
Step By Step Instructions Of Marshmallow pops Recipe:
Step 1: Prepare Your Work Area
Ensure you have enough space to work comfortably and gather all the ingredients and supplies around you. Lay down parchment paper or wax paper to protect your work surface from any spills or drips.
Step 2: Melt the Candy Melts or Chocolate
Start by melting the candy melts or chocolate chips. Use microwave-safe bowls and follow the melting instructions on the package. Typically, you will need to microwave the candy melts in 30-second intervals, stirring between each interval until they are completely smooth and melted. Be cautious not to overheat the candy melts to avoid burning.
Step 3: Insert Lollipop Sticks
Take your marshmallows and carefully insert a lollipop stick into the center of each marshmallow. Push the stick about halfway through the marshmallow, ensuring it is secure but not poking through the other side.
Step 4: Dip the Marshmallows
Holding the lollipop stick, dip each marshmallow into the melted candy melts or chocolate. Swirl and rotate the marshmallow to coat it completely. Let any excess candy melts drip off back into the bowl.
Step 5: Add Toppings
If desired, while the candy coating is still wet, decorate the marshmallow pops with sprinkles, crushed cookies, or any other toppings of your choice. You can get creative with various colors and textures to make them visually appealing.
Step 6: Let Them Set
Once you’ve decorated the marshmallow pops, place them onto the parchment paper or wax paper to set. If you’re making multiple pops, you can insert the sticks into a styrofoam block or tall glass to keep them upright as they dry.
Step 7: Finishing Touches
After the candy coating has hardened, you can add some finishing touches. Tie decorative ribbons around the sticks or wrap them in cellophane to give them a more presentable and festive look, especially if you’re making them as gifts or party favors.
Step 8: Store or Serve
You can serve marshmallow pops immediately, or if you’re not planning to serve them right away, store them in an airtight container at room temperature. They should stay fresh for several days, but it’s best to consume them within a week for the best taste and texture.
Step 9: Enjoy!
Now that you’ve made your delicious marshmallow pops, it’s time to enjoy them! These treats are sure to be a hit at any gathering or as a delightful snack for yourself and your loved ones.
Remember, making marshmallow pops is a fantastic opportunity to unleash your creativity. Feel free to experiment with different colors, toppings, and presentation styles to make them uniquely yours! Happy marshmallow pop-making!
Related Post:
Panna Cotta Recipe | Just In 9 Easy Steps.
Nutella Crepes Recipe | Just In 8 Easy Steps.
Mochi Ice Cream Recipe | Just In 8 Easy Steps.
Fruit Tart Recipe | Just In 6 Easy Steps.
Honeycomb Candy Recipe | Just In 9 Easy Steps.
-

Toyota Innova HyCross: World First Ethanol Fuel Car Launch India
Toyota Innova HyCross: World First Ethanol Fuel Car Toyota Motor has unveiled the world’s first fully ethanol-powered car(World First Ethanol…
-

Aditya L1 Mission Launch Date, Budget, Solar Mission
All About Aditya L1 Mission 2023 After the successful Chandrayaan-3 mission, the Indian Space Research Organization (ISRO) is now gearing up…
-

Bray Wyatt Death Reason : पूर्व WWE चैंपियन ब्रे वायट का हार्ट अटैक से निधन, 36 साल की उम्र में ली आखिरी सांस
All About Bray Wyatt Death Reason ( 36 साल की उम्र में ली आखिरी सांस ) Bray Wyatt Death Reason…
3 thoughts on “Marshmallow Pops Recipe | Just In 9 Easy Steps.”