
Table of Contents
Cherry cheesecake is a delightful dessert that combines the creamy richness of cheesecake with the tart sweetness of cherries. It is a classic treat that has been enjoyed by dessert lovers for generations.
The foundation of a cherry cheesecake is a buttery graham cracker crust, providing a delicious base for the indulgent filling. The filling is made with a blend of cream cheese, sugar, and eggs, resulting in a smooth and velvety texture that melts in your mouth. The cheesecake is baked to perfection until it sets and develops a lightly golden brown top.
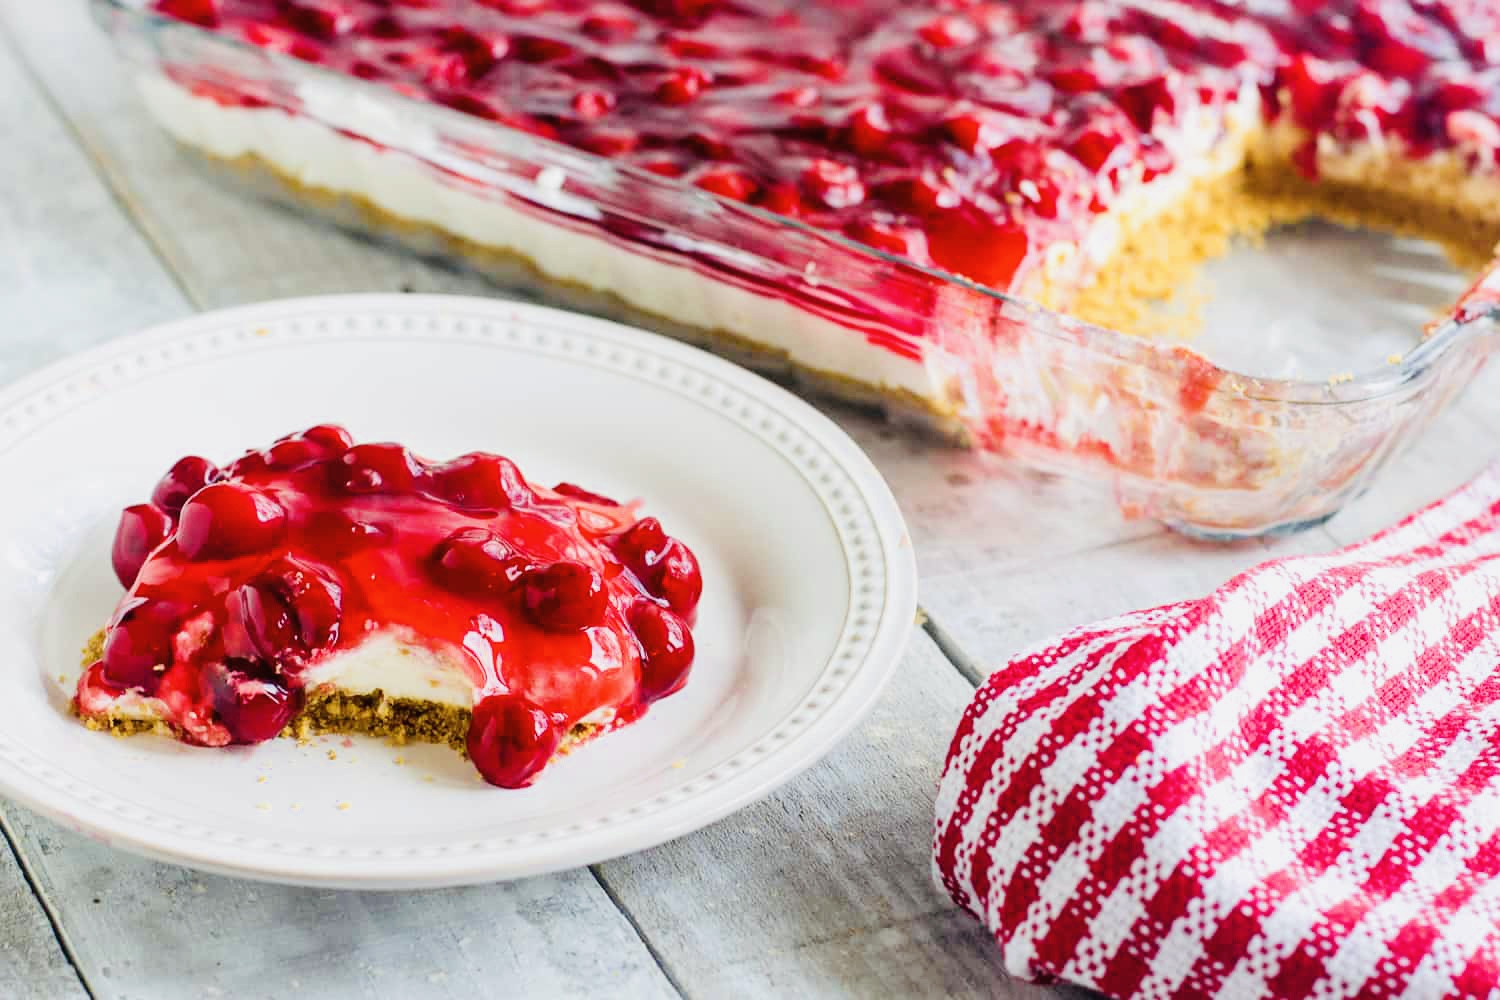
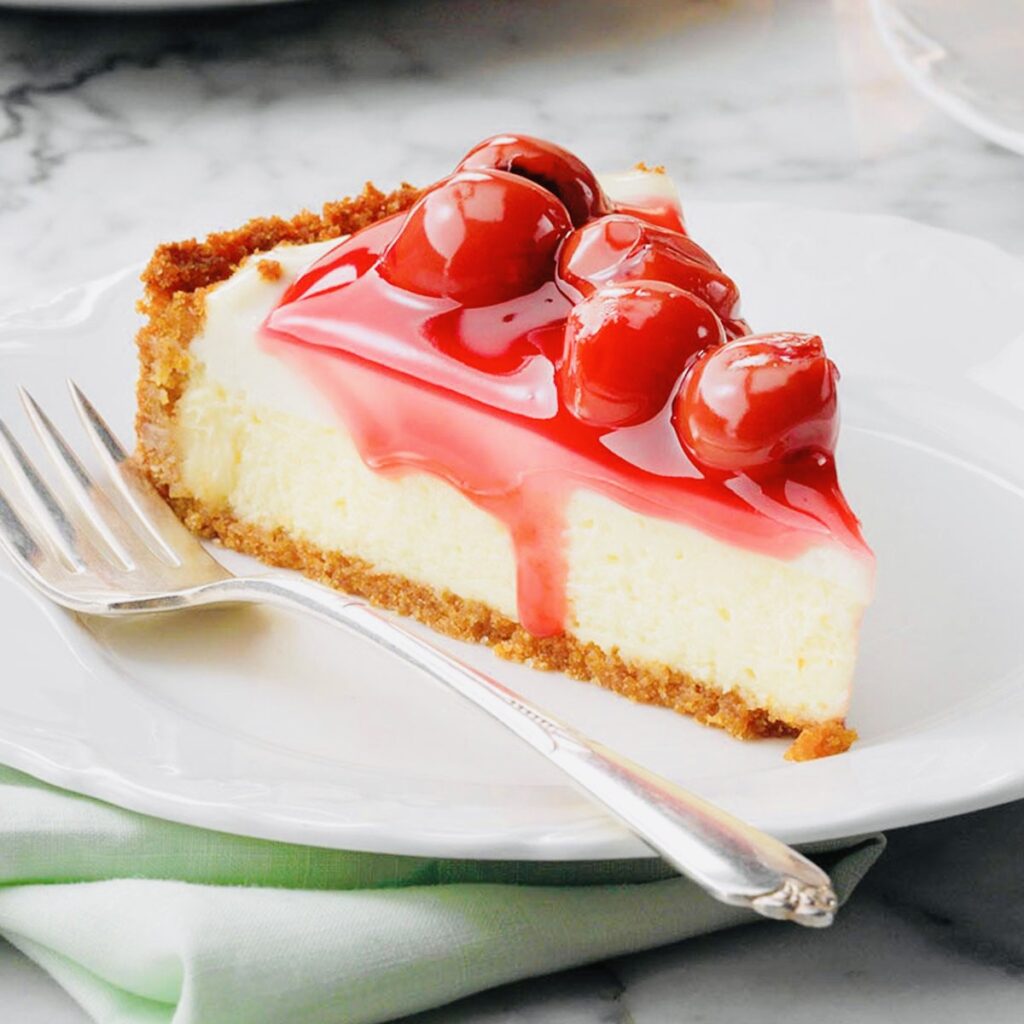
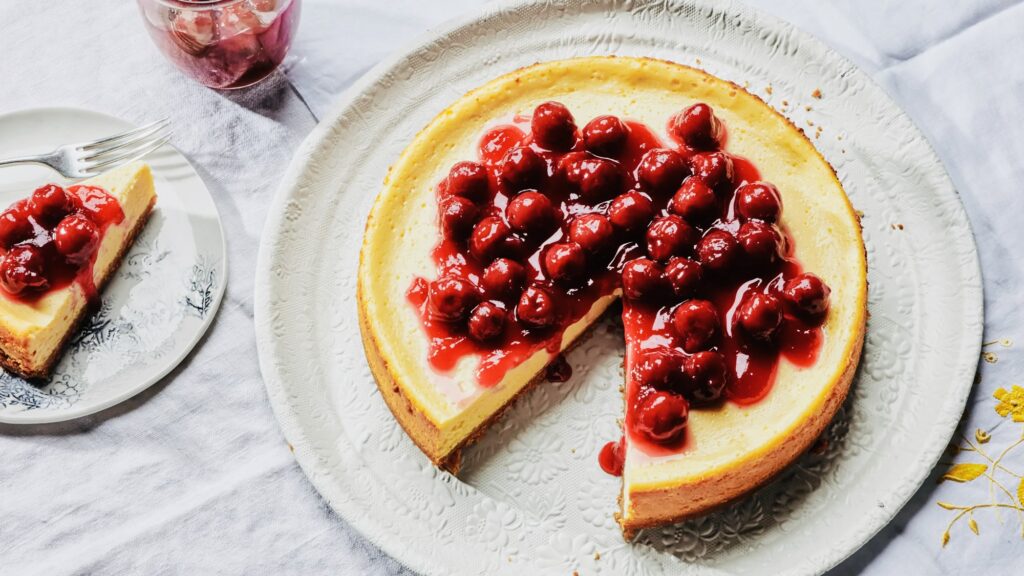
The real star of the show is the cherry topping. Bright red, juicy cherries are cooked down with sugar and a touch of lemon juice, creating a vibrant and flavorful sauce. The glossy cherries are generously spooned over the chilled cheesecake, adding a burst of fruity goodness to each bite.
Cherry cheesecake is a versatile dessert that can be enjoyed year-round. It’s perfect for special occasions, holiday gatherings, or simply as a sweet treat to end a meal. Its combination of creamy and tangy flavors, along with the contrasting textures of the crust, filling, and cherries, make it a true dessert masterpiece.
Making a delicious cherry cheesecake is a delightful and mouthwatering dessert option. Below, I’ll guide you through a step-by-step process to create a homemade cherry cheesecake. Let’s get started!

Ingredients Of Cherry Cheesecake Recipe:
To make a cherry cheesecake, you will need the following ingredients:
For the Crust:
- 2 cups graham cracker crumbs
- 1/2 cup melted unsalted butter
- 1/4 cup granulated sugar
For the Filling:
- 24 ounces cream cheese, softened
- 1 cup granulated sugar
- 1 teaspoon vanilla extract
- 4 large eggs
For the Topping:
- 1 can cherry pie filling
Step By Step Instructions Of Key lime pie Recipe:
Step 1: Preparing the Crust
Preheat your oven to 325°F (160°C). In a medium-sized bowl, combine the graham cracker crumbs, melted butter, and granulated sugar. Mix until the crumbs are evenly coated with butter. Press the mixture into the bottom of a 9-inch springform pan, creating an even crust. Place the pan in the refrigerator while you prepare the filling.
Step 2: Making the Filling
In a large mixing bowl, beat the softened cream cheese until smooth and creamy. Add the granulated sugar and vanilla extract, then continue beating until well combined. Next, add the eggs one at a time, beating well after each addition. Make sure to scrape down the sides of the bowl to ensure everything is mixed evenly.
Step 3: Assembling and Baking
Remove the crust from the refrigerator and pour the cream cheese filling over it. Use a spatula to spread the filling evenly, ensuring it reaches the edges. Tap the pan gently on the countertop to remove any air bubbles.
Place the springform pan on a baking sheet and transfer it to the preheated oven. Bake for approximately 55-60 minutes or until the edges are set, but the center is still slightly jiggly. Avoid overbaking, as it can cause cracks in the cheesecake.
Step 4: Cooling and Refrigerating
Once the cheesecake is baked, turn off the oven and leave the oven door slightly ajar. Allow the cheesecake to cool in the oven for about one hour. This gradual cooling process helps prevent cracks.
After an hour, remove the cheesecake from the oven and let it cool completely at room temperature. Once cooled, cover the springform pan with plastic wrap and refrigerate for at least 4 hours or overnight to allow the cheesecake to set.
Step 5: Adding the Topping
Before serving, carefully remove the sides of the springform pan. Place the cheesecake on a serving plate. Open the can of cherry pie filling and pour it over the top of the cheesecake, spreading it evenly with a spoon or spatula.
Step 6: Serving and Enjoying
Your delicious cherry cheesecake is now ready to be served! Slice it into wedges and plate each slice. The rich creaminess of the cheesecake combined with the sweet cherries is sure to delight your taste buds.
You can store any leftovers in the refrigerator, covered, for up to 3-4 days. The flavors will continue to develop over time, making it even more delicious with each passing day.
Enjoy your homemade cherry cheesecake!
Related Post:
Key lime pie Recipe | Just In 9 Easy Steps.
Almond Biscotti Recipe | Just In 9 Easy Steps.
Coconut Macaroons Recipe | Just In 7 Easy Steps.
Red Velvet Cupcakes Recipe | Just In 4 Easy Steps.
Mango Sorbet Recipe | Just In 7 Easy Steps.
Raspberry Sorbet Recipe | Just In 7 Easy Steps.
-

Toyota Innova HyCross: World First Ethanol Fuel Car Launch India
Toyota Innova HyCross: World First Ethanol Fuel Car Toyota Motor has unveiled the world’s first fully ethanol-powered car(World First Ethanol…
-

Aditya L1 Mission Launch Date, Budget, Solar Mission
All About Aditya L1 Mission 2023 After the successful Chandrayaan-3 mission, the Indian Space Research Organization (ISRO) is now gearing up…
-

Bray Wyatt Death Reason : पूर्व WWE चैंपियन ब्रे वायट का हार्ट अटैक से निधन, 36 साल की उम्र में ली आखिरी सांस
All About Bray Wyatt Death Reason ( 36 साल की उम्र में ली आखिरी सांस ) Bray Wyatt Death Reason…
4 thoughts on “Cherry Cheesecake Recipe | Just In 6 Easy Steps.”