Table of Contents

Crème brûlée, meaning “burnt cream” in French, is a classic and elegant dessert that is beloved by many. It consists of a rich and smooth custard base, traditionally flavored with vanilla, and topped with a layer of caramelized sugar. The contrast between the creamy custard and the crisp, caramelized sugar creates a delightful textural experience.
To make crème brûlée, a mixture of egg yolks, sugar, and cream is gently cooked until thickened and then baked in a water bath to ensure even heat distribution. After chilling to set, the dessert is prepared for its signature caramelized sugar topping. This is achieved by sprinkling a thin layer of sugar on top of the custard and then using a culinary torch to melt and caramelize the sugar, forming a brittle and golden crust.
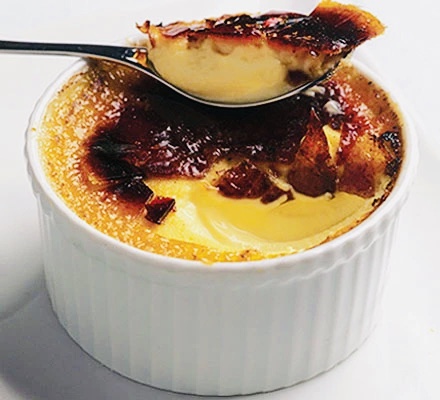
The cracking sound as the spoon breaks through the caramelized sugar crust is a satisfying moment before indulging in the velvety smoothness of the custard beneath. The combination of flavors is sublime, with the creamy custard offering a delicate sweetness that is perfectly balanced by the slightly bitter notes of the caramelized sugar.
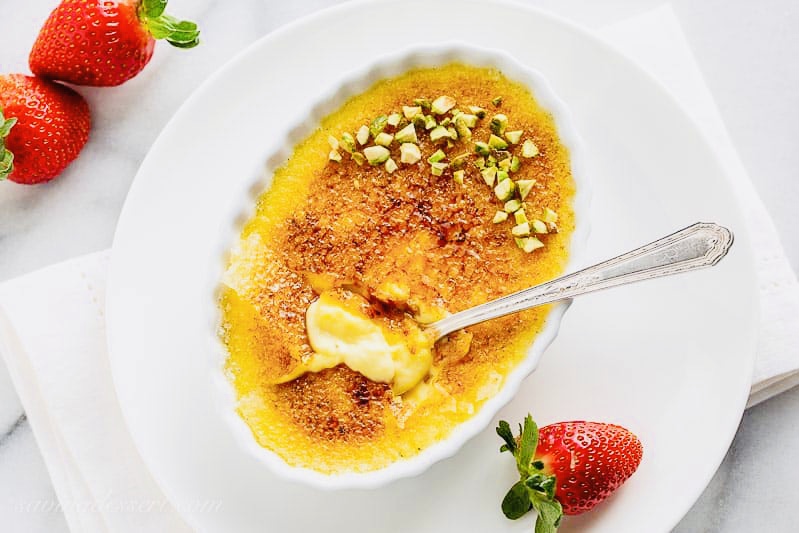
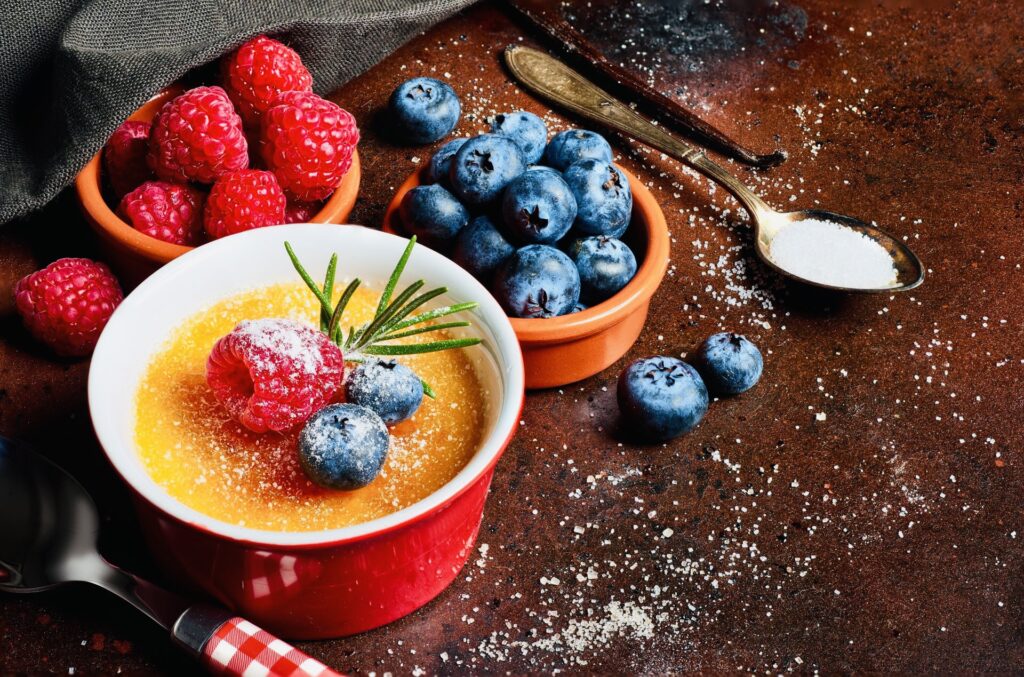
Crème brûlée is often served in individual ramekins, making it an elegant and visually appealing dessert. It has become a staple in fine dining establishments around the world, and its simplicity and sophistication have made it a favorite among home cooks as well. Whether enjoyed on its own or accompanied by fresh berries or a dollop of whipped cream, crème brûlée is a timeless dessert that never fails to delight the senses. In this step-by-step recipe, I’ll guide you through the process of making a delicious crème brûlée.

Ingredients Of Crème Brûlée:
- 4 egg yolks
- 1/2 cup granulated sugar, divided
- 1 teaspoon vanilla extract
- 2 cups heavy cream
- Pinch of salt
- Extra sugar for caramelizing
Equipment Of Crème Brûlée:
- 4 ramekins
- Large mixing bowl
- Whisk
- Saucepan
- Fine-mesh sieve
- Kitchen torch
Step By Step Instructions Of Crème Brûlée Recipe:


Step 1: Preparing the Custard
Start by preheating your oven to 325°F (160°C). Then, take a large mixing bowl and whisk together the egg yolks, 1/4 cup of granulated sugar, and vanilla extract until well combined. Set this mixture aside.
Step 2: Making the Cream Base
In a saucepan, pour the heavy cream and add the remaining 1/4 cup of granulated sugar. Place the saucepan over medium heat and bring the cream to a simmer, stirring occasionally. Once it simmers, remove it from the heat.
Step 3: Combining the Ingredients
Gradually pour the hot cream into the bowl with the egg yolk mixture, whisking continuously as you do so. This step is important to temper the eggs and avoid curdling. Once the cream and eggs are well combined, add a pinch of salt and whisk until smooth.
Step 4: Straining the Mixture
To ensure a silky smooth custard, strain the mixture through a fine-mesh sieve into another bowl or a pouring jug. This step helps remove any lumps or solids that might have formed during the mixing process.
Step 5: Filling the Ramekins
Place the ramekins in a deep baking dish or roasting pan. Carefully pour the custard mixture into the ramekins, dividing it equally among them. Leave a small space at the top to avoid overflowing during baking.
Step 6: Baking the Custard
Create a water bath for the ramekins by filling the baking dish or roasting pan with hot water, making sure the water level reaches about halfway up the sides of the ramekins. Gently transfer the dish to the preheated oven and bake for about 30-35 minutes, or until the custard is set around the edges but still slightly jiggly in the center.
Step 7: Chilling the Custard
Once baked, carefully remove the baking dish from the oven and transfer the ramekins to a wire rack to cool. Allow them to cool at room temperature for about 30 minutes before transferring them to the refrigerator. Let the custards chill in the refrigerator for at least 2 hours, or preferably overnight, to fully set.
Step 8: Caramelizing the Sugar
When you’re ready to serve, sprinkle a thin and even layer of granulated sugar over the top of each custard-filled ramekin. Using a kitchen torch, carefully caramelize the sugar by moving the flame in a circular motion, ensuring all the sugar melts and turns golden brown.
Step 9: Serving and Enjoying
After caramelizing the sugar, let it cool for a few minutes until the sugar hardens to form a crisp crust. Your crème brûlées are now ready to be enjoyed! Serve them as they are or garnish with fresh fruits, such as berries or sliced citrus, for an extra touch of flavor.
There you have it—a delicious crème brûlée prepared step by step. Indulge in the creamy custard beneath the crackling caramelized sugar for a truly exquisite dessert experience.