
Table of Contents
Paneer is a popular Indian cheese that holds a significant place in Indian cuisine and culture. Made from cow’s or buffalo’s milk, paneer is known for its mild and creamy taste, making it a versatile ingredient in various dishes.
The process of making paneer involves curdling milk with lemon juice or vinegar, resulting in a soft and crumbly texture. It is then drained and pressed to remove excess whey, forming a solid block. Paneer can be consumed as is, or it can be cooked in numerous ways, making it a staple in vegetarian and non-vegetarian Indian dishes.
Paneer is a protein-rich food and a great source of calcium, which contributes to healthy bones and teeth. It is also a good source of phosphorus, vitamins, and minerals. Due to its mild flavor, panir absorbs the spices and flavors of the dish it is cooked in, making it an excellent addition to curries, stir-fries, and grilled dishes.
Panir is a versatile ingredient that can be used in both savory and sweet dishes. It can be marinated, grilled, or used as a stuffing in samosas and parathas. It is also a key component of popular Indian dishes like paneer tikka, palak paneer (paneer in spinach gravy), and paneer butter masala.
With its creamy texture, mild taste, and nutritional benefits, paneer has gained popularity not only in India but also internationally. It is loved by vegetarians and non-vegetarians alike, and its versatility makes it an integral part of Indian culinary traditions.I will provide you with a step-by-step process to make panir from scratch. Let’s get started!
Ingredients For Making Paneer:
- 1 liter of whole milk
- 2-3 tablespoons of lemon juice or vinegar
- Cheesecloth or muslin cloth
- Strainer or colander
- Heavy-bottomed pan
- Slotted spoon or ladle
Step By Step Instructions Of Paneer Recipe:
Step 1: Prepare the Cheesecloth
Take a piece of cheesecloth or muslin cloth and rinse it under cold water. Squeeze out any excess water and line a strainer or colander with the cloth. Place it in the sink or over a bowl to catch the whey.
Step 2: Heat the Milk
Pour the milk into a heavy-bottomed pan and place it over medium heat. Stir occasionally to prevent the milk from scorching at the bottom. Heat the milk until it comes to a gentle boil.
Step 3: Add Acidic Agent
Once the milk comes to a boil, reduce the heat to low. Add the lemon juice or vinegar slowly, one tablespoon at a time, while stirring continuously. The acid will cause the milk to curdle and separate into curds and whey. Keep stirring until you see clear whey and the milk solids have separated.
Step 4: Strain the Curds
Once the curds and whey have separated, carefully pour the mixture into the prepared cheesecloth-lined strainer or colander. The whey will drain away, leaving behind the curds.
Step 5: Rinse and Tie the Cheesecloth
Rinse the curds under cold water to remove any traces of lemon juice or vinegar. This step helps in getting rid of the tangy taste. Gather the edges of the cheesecloth and tie them together to form a pouch.
Step 6: Hang and Drain
Hang the cheesecloth pouch over the sink or a bowl to allow the remaining whey to drain. You can hang it from a kitchen faucet or tie it to a utensil rack. Leave it to drain for about 30 minutes to an hour until most of the whey has been removed.
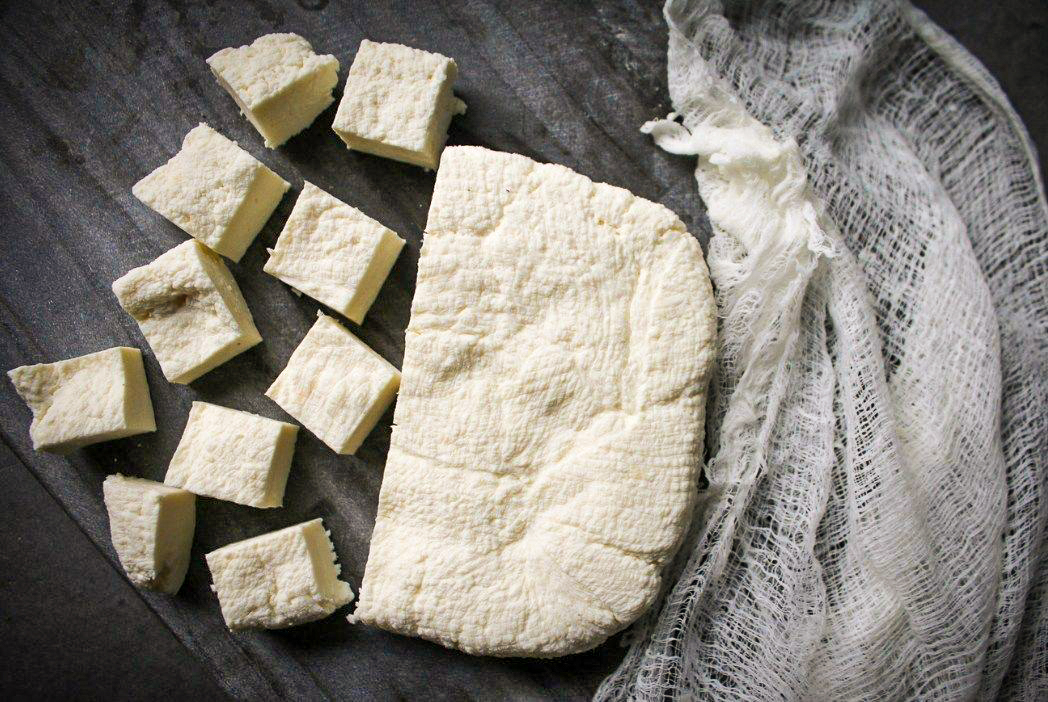
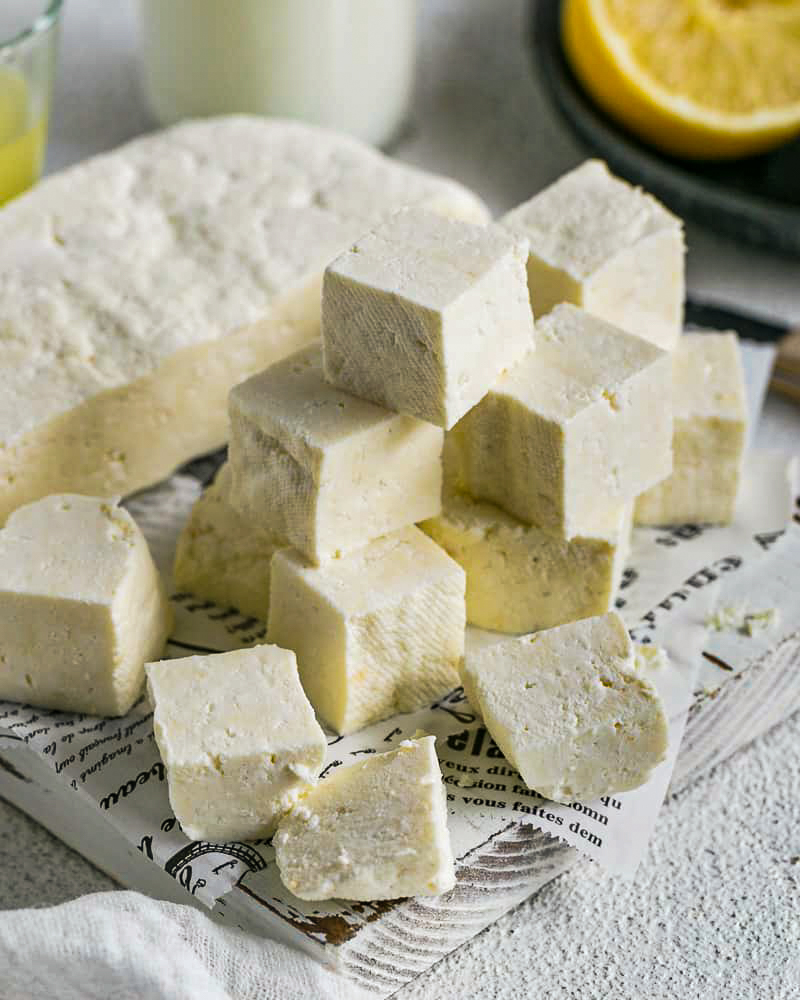
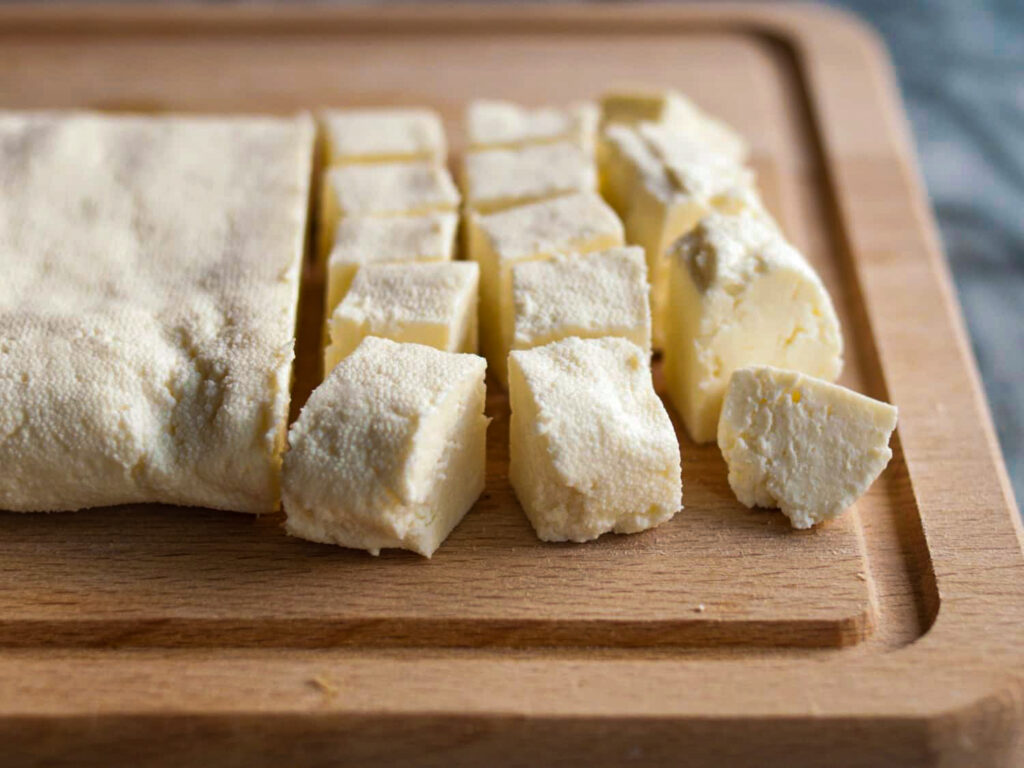
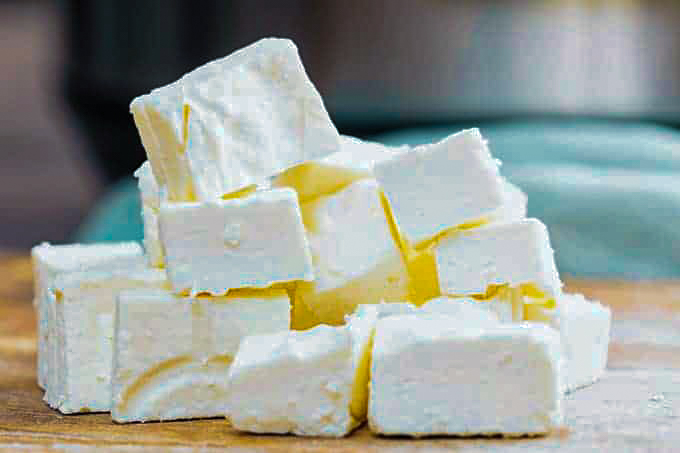
Step 7: Shape and Press
Remove the panir from the cheesecloth and transfer it to a clean work surface. Knead the paneer gently with your hands to remove any excess moisture and obtain a smooth texture. Shape it into a block or disc, depending on your preference.
Step 8: Press and Set
Place the panir on a plate or cutting board. Put a heavy object, like a cast-iron skillet or a few cans, on top of the paneer to press it. This will help to remove more moisture and shape it firmly. Let it sit for at least 30 minutes to set.
Step 9: Cut and Store
After the panir has set, remove the weight and cut it into cubes or slices of your desired size. Paneer can be used immediately in various recipes, or you can store it in the refrigerator in an airtight container for up to 3-4 days.
Congratulations! You have successfully made panir at home. Enjoy using it in your favorite dishes and experiment with different flavors and spices to create delicious meals.


5 thoughts on “How to make paneer | Home made Paneer Recipe 9 Easy steps.”