
Table of Contents
All About Mawa Kachori Recipe:
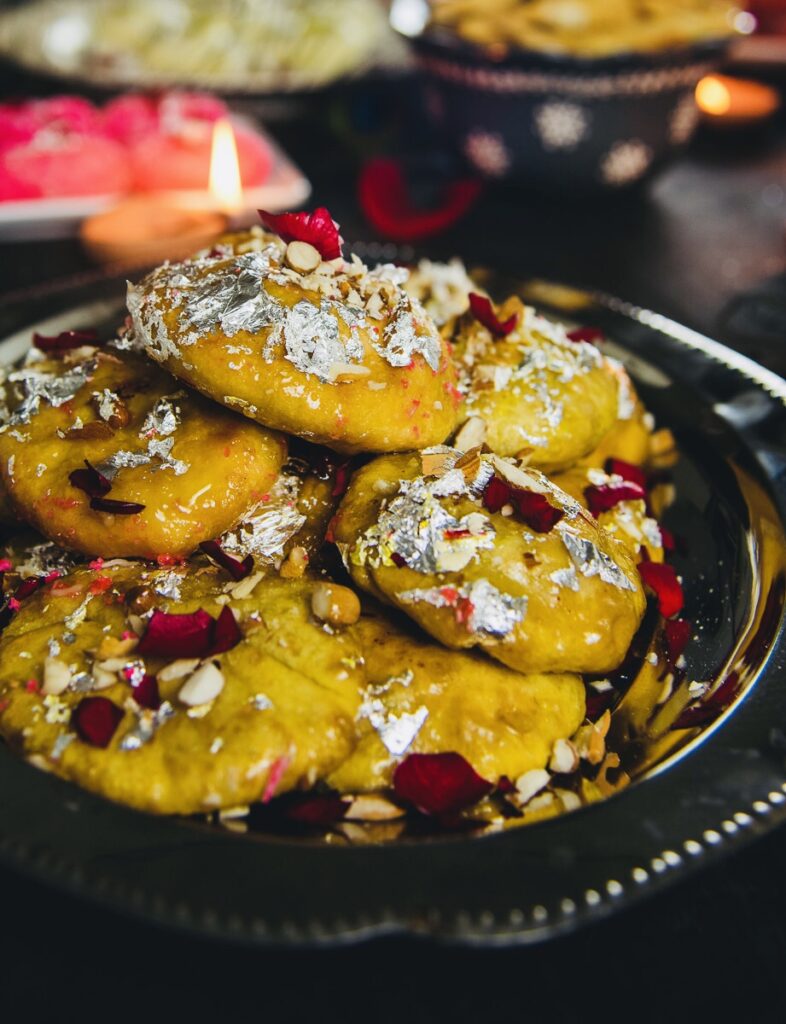
Mawa Kachori is a delightful Indian dessert that originates from the state of Rajasthan. This delectable sweet dish features a crispy and flaky outer shell made from refined flour, filled with a rich and creamy mixture of mawa (reduced milk solids), nuts, and aromatic spices.
To prepare Mawa Kachori, first, a dough is created by mixing refined flour with ghee or oil and water. This dough is then divided into small portions, flattened, and stuffed with a mixture of mawa, finely chopped nuts (like almonds, pistachios), and a hint of cardamom for flavor. The filled dough is carefully sealed and then deep-fried until it turns golden brown and crispy.
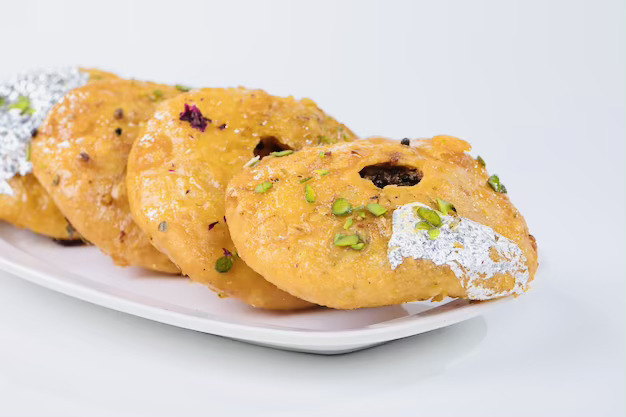
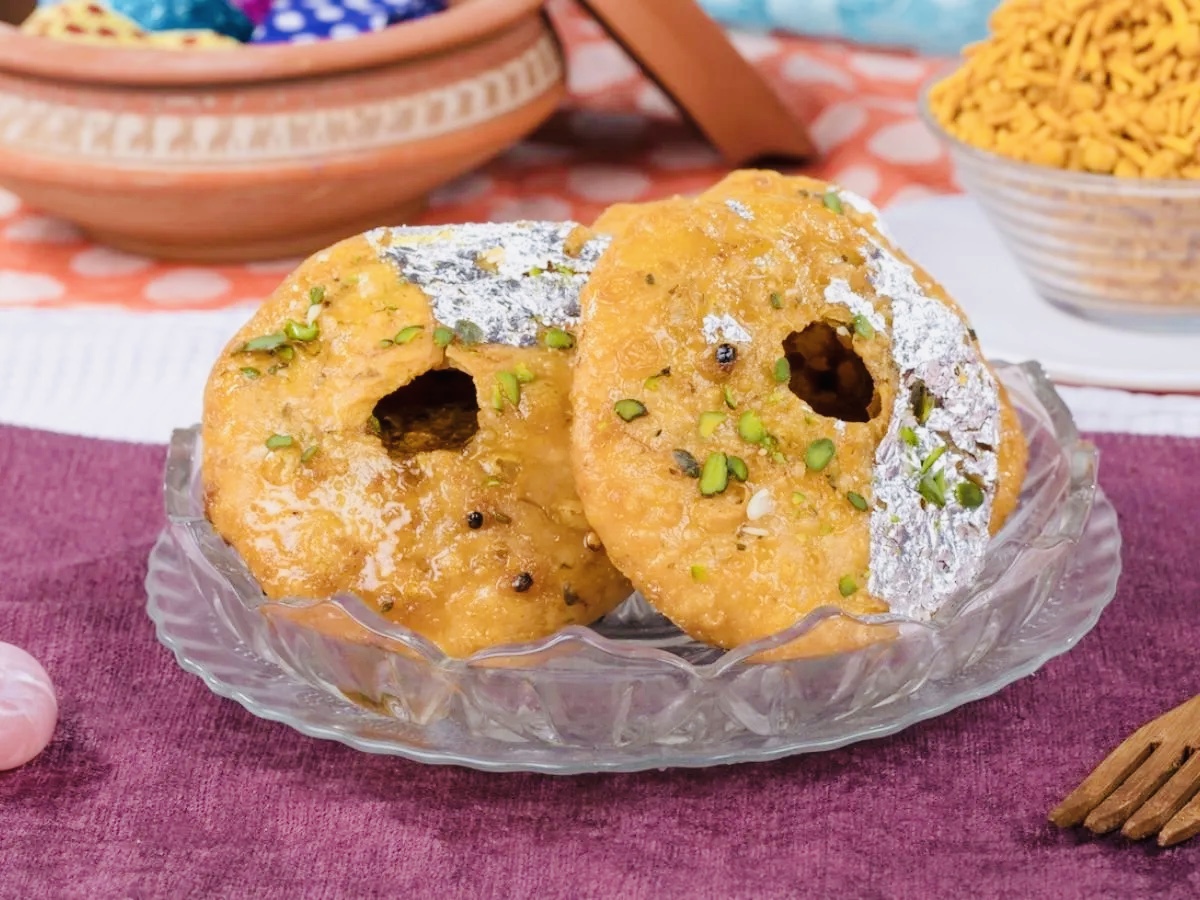
After frying, the kachoris are usually allowed to cool slightly before being dipped in a sugar syrup or dusted with powdered sugar. The syrup adds sweetness and a touch of moisture to the crisp kachoris. The result is a delightful blend of textures and flavors – the crispy outer layer contrasting with the creamy, sweet, and nutty interior. Mawa Kachori is often enjoyed during festivals, special occasions, or as a decadent treat to satisfy dessert cravings.
Ingredients Of Mawa Kachori Recipe:
- For the Dough:
- 1 cup all-purpose flour (maida)
- 2 tablespoons ghee (clarified butter)
- A pinch of salt
- Water, as needed
- For the Filling:
- 1 cup mawa (khoya), crumbled
- 1/4 cup powdered sugar (adjust to taste)
- 1/4 teaspoon cardamom powder
- 2 tablespoons chopped nuts (almonds, pistachios, cashews, etc.)
- A pinch of saffron strands (soaked in warm milk)
- Other:
- Oil, for deep frying
Step By Step Instructions Of Mawa Kachori Recipe:
Step 1: Prepare the Dough
- In a mixing bowl, combine the all-purpose flour, a pinch of salt, and ghee.
- Rub the ghee into the flour until the mixture resembles breadcrumbs.
- Gradually add water and knead to form a smooth and firm dough.
- Cover the dough with a damp cloth and let it rest for 15-20 minutes.
Step 2: Make the Filling
- In a pan, heat the crumbled mawa on medium-low heat.
- Stir continuously until the mawa softens and turns slightly golden in color.
- Add the powdered sugar, cardamom powder, chopped nuts, and soaked saffron strands.
- Mix well and cook for a few more minutes until the mixture comes together.
- Remove from heat and allow the filling to cool completely.
Step 3: Assemble and Shape the Kachoris
- Divide the rested dough into small lemon-sized balls.
- Roll each ball between your palms to make it smooth.
- Flatten each ball slightly to form a small cup.
- Place a spoonful of the cooled mawa filling in the center of each dough cup.
- Carefully gather the edges of the dough and seal the filling inside, shaping it into a round ball.
Step 4: Fry the Kachoris
- Heat oil in a deep pan over medium heat for frying.
- Gently slide a few kachoris into the hot oil, taking care not to overcrowd the pan.
- Fry the kachoris until they turn golden brown and crispy on all sides.
- Using a slotted spoon, remove the fried kachoris and place them on paper towels to drain excess oil.
Step 5: Serve and Enjoy
- Allow the fried kachoris to cool slightly before serving.
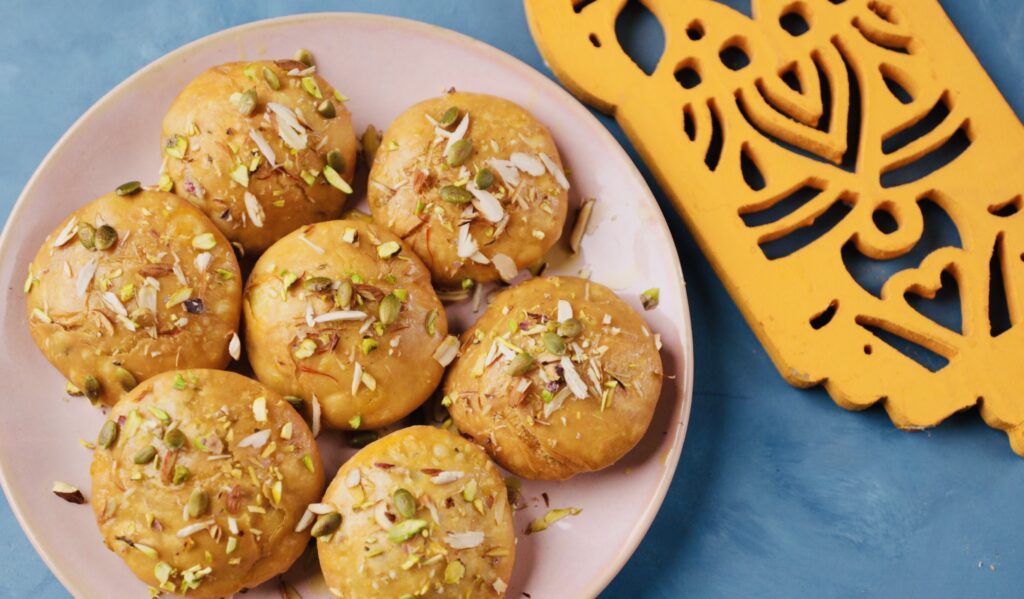
- Garnish with a sprinkle of powdered sugar and additional chopped nuts, if desired.
- Serve these delicious Mawa Kachoris as a dessert or a sweet snack during celebrations or festivals.
Conclusion:
Creating Mawa Kachoris at home is a delightful culinary experience that allows you to indulge in the authentic flavors of Indian sweets. By following this step-by-step guide, you can prepare these delectable treats that combine the richness of mawa with the crispy texture of deep-fried dough. Enjoy the sweet satisfaction of making and savoring this traditional dessert with your loved ones.
Related Post:
Harihar Fort Nashik | Best Fort In India.
Bisi Bele Bath Recipe | Just In 10 Easy Steps.
Tilkut Recipe | Just In 6 Easy Steps.
Bafauri Recipe | Just In 5 Easy Steps.
-
Mawa Kachori Recipe | Just In 5 Easy Steps.
All About Mawa Kachori Recipe: Mawa Kachori is a delightful Indian dessert that originates from the state of Rajasthan. This…
1 thought on “Mawa Kachori Recipe | Just In 5 Easy Steps.”