


Table of Contents

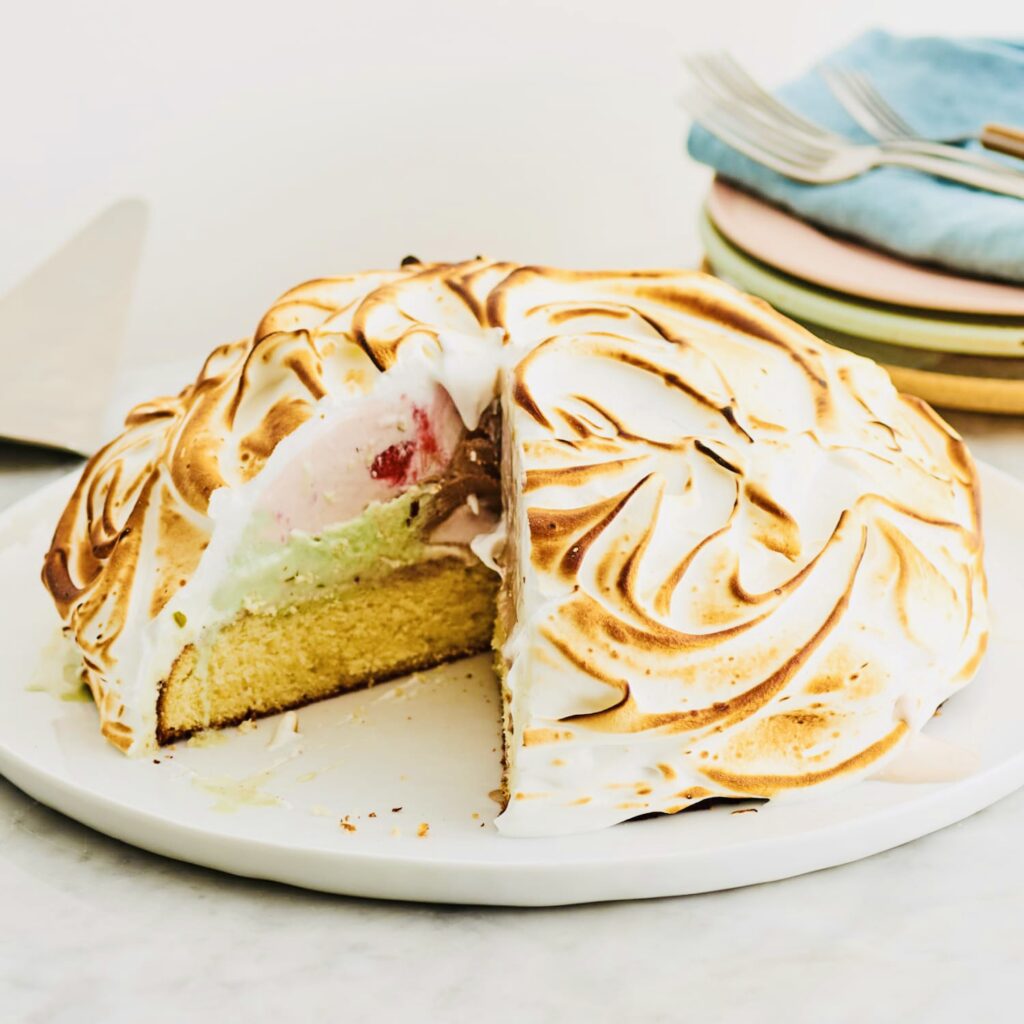
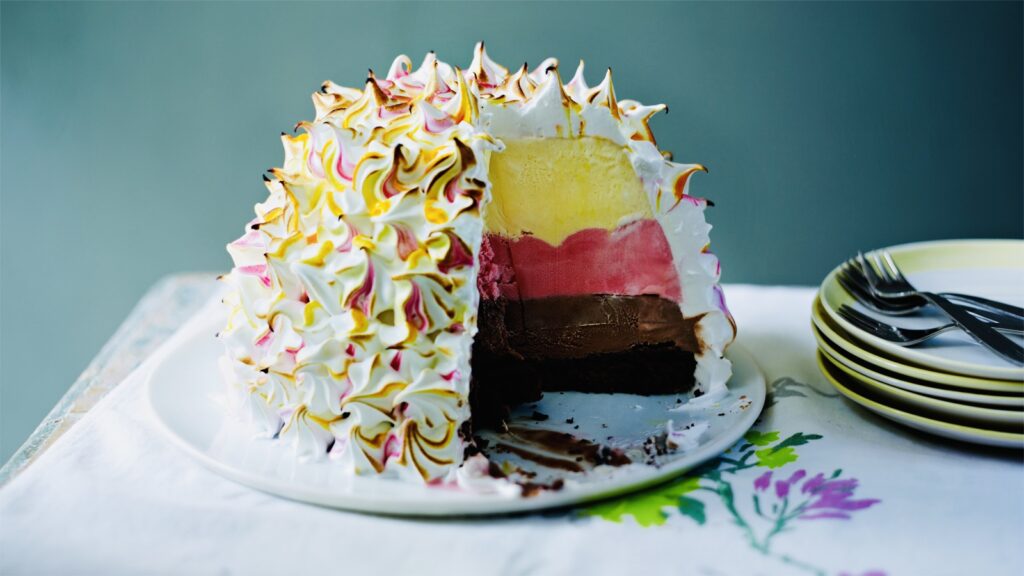
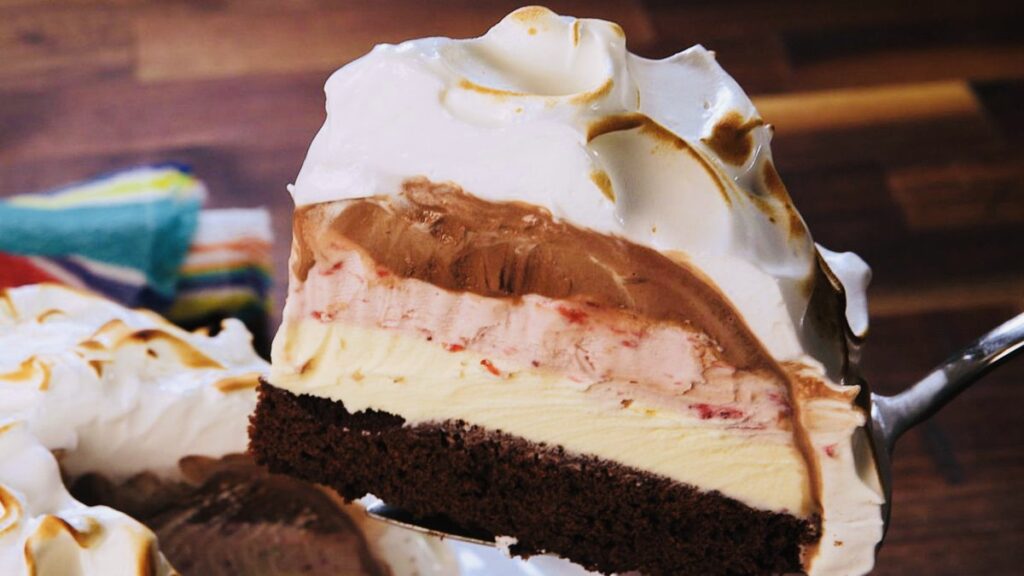
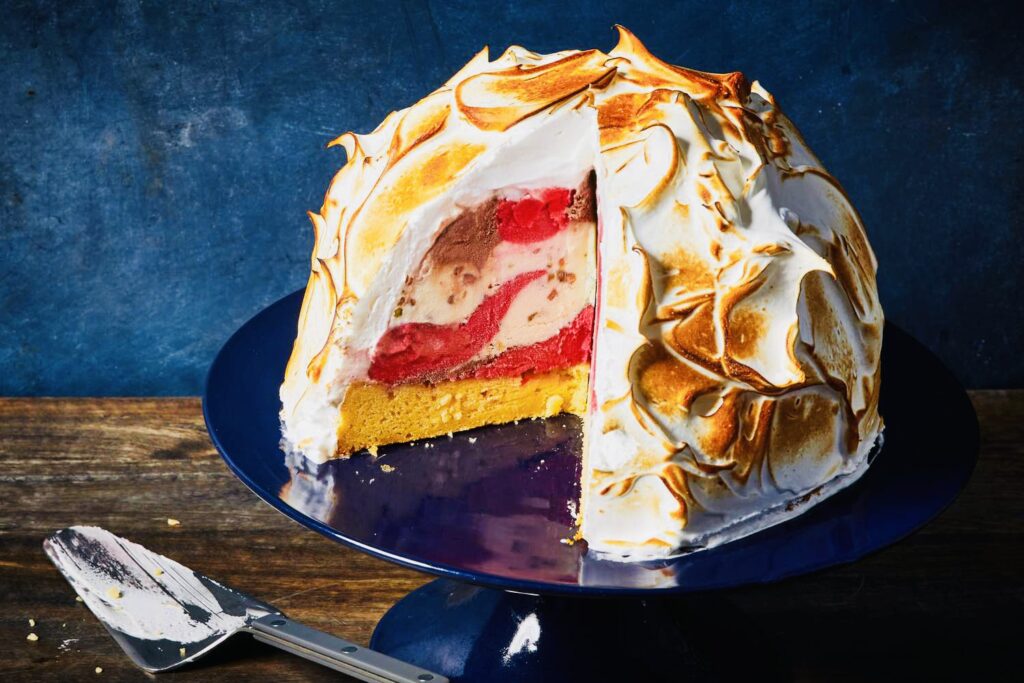
Baked Alaska is a classic dessert that combines contrasting elements of warm cake and cold ice cream, all encased in a layer of lightly toasted meringue. The origins of this delectable treat are disputed, but it gained popularity in the United States during the early 20th century.
To create Baked-Alaska, a sponge cake base is typically used, providing a sturdy foundation to support the ice cream. The cake is topped with a layer of ice cream, which can vary in flavors, adding a delightful contrast in textures and tastes. Once assembled, the dessert is then covered with a generous layer of fluffy meringue made from whipped egg whites and sugar.
The final step involves baking the dessert quickly in a very hot oven or using a culinary torch to lightly toast the meringue, creating a beautiful golden-brown exterior. The meringue acts as an insulator, preventing the ice cream from melting during the short baking process.
Baked Alaska is often served as a stunning centerpiece at special occasions and celebrations due to its eye-catching appearance and delicious combination of flavors and textures. It remains a timeless and elegant dessert, cherished by those who indulge in its delightful taste and visual appeal.
Baked-Alaska is a delightful dessert that combines ice cream, cake, and meringue into a beautiful and delicious creation. Making Baked-Alaska involves a few essential steps, and I’ll guide you through the process step by step in around 1000 words. Let’s get started!
All About Baked Alaska Recipe:

Ingredients Of Baked Alaska Recipe:
Before you begin, make sure you have all the necessary ingredients on hand. For a classic Baked Alaska, you’ll need:
For the Cake:
- 1 9-inch round sponge cake (store-bought or homemade)
For the Ice Cream:
- 1 quart (approximately 1 liter) of your favorite ice cream flavor (e.g., vanilla, chocolate, or strawberry)
For the Meringue:
- 6 large egg whites
- 1 ½ cups granulated sugar
- 1 teaspoon vanilla extract
Step By Step Instructions Of Baked Alaska Recipe:

Step 1: Prepare the Cake
If you’re using a store-bought sponge cake, you can skip this step. If not, follow your preferred sponge cake recipe to bake a 9-inch round cake. Allow the cake to cool completely before assembling the Baked Alaska. You can even make the cake a day ahead.
Step 2: Line the Mold
Choose a deep, round mold (about 9 inches in diameter) that can accommodate the entire ice cream dome. Line the inside of the mold with plastic wrap, leaving some excess hanging over the sides. This will make it easier to remove the Baked-Alaska later.
Step 3: Add the Ice Cream
Take the ice cream out of the freezer and let it soften slightly at room temperature. Once it’s soft enough to work with but not melted, scoop the ice cream into the lined mold. Spread it evenly, packing it down as you go. You can use one flavor or create layers of different flavors for added variety.
Step 4: Insert the Cake
Take the cooled sponge cake and place it on top of the ice cream in the mold. Press it gently to create a bond between the ice cream and the cake. Trim any cake edges that extend beyond the mold’s rim.
Step 5: Freeze the Baked Alaska
Cover the mold with plastic wrap and place it in the freezer for at least 4 hours or until the ice cream is firm again. Ideally, it’s best to freeze it overnight to ensure it’s completely solidified.
Step 6: Prepare the Meringue
While the Baked Alaska is freezing, you can make the meringue. In a clean, dry mixing bowl, beat the egg whites on medium speed until soft peaks form. Gradually add the granulated sugar, a few tablespoons at a time, while continuing to beat until stiff, glossy peaks form. Finally, mix in the vanilla extract.
Step 7: Assemble the Baked Alaska
Once the ice cream is fully frozen, take the mold out of the freezer. Unwrap the top layer of plastic wrap and flip the Baked Alaska onto a serving platter, so the cake is at the bottom and the ice cream is on top.
Step 8: Apply the Meringue
Cover the entire Baked-Alaska with the meringue, ensuring it reaches the platter’s edges to seal in the ice cream completely. Use a spatula or the back of a spoon to create swirls or peaks on the meringue’s surface, making it visually appealing.
Step 9: Bake the Baked Alaska
Preheat your oven to a high temperature, around 425°F (220°C). Place the assembled Baked Alaska in the preheated oven and bake for 5-7 minutes or until the meringue turns a beautiful golden brown. Keep a close eye on it to avoid overcooking or melting the ice cream.
Step 10: Serve and Enjoy
Carefully remove the Baked-Alaska from the oven and transfer it to a serving dish. Use a sharp knife to slice it into individual portions, making sure to cut through the cake and meringue layers. Serve immediately, and enjoy the delightful combination of cold ice cream, soft cake, and fluffy meringue!
Baked Alaska is a show-stopping dessert perfect for special occasions, and now you know how to make it step by step. Enjoy your creation and impress your guests with this delicious and visually stunning treat!
Related Post:
Coffee Cake Recipe | Just In 5 Easy Steps.
Pecan Pralines Recipe | Just In 7 Easy Steps.
Peanut Brittle Recipe | Just In 9 Easy Steps.
Grape Sorbet Recipe | Just In 10 Easy Steps.
Eclairs Recipe | Just In 7 Easy Steps.
-

Toyota Innova HyCross: World First Ethanol Fuel Car Launch India
Toyota Innova HyCross: World First Ethanol Fuel Car Toyota Motor has unveiled the world’s first fully ethanol-powered car(World First Ethanol…
-

Aditya L1 Mission Launch Date, Budget, Solar Mission
All About Aditya L1 Mission 2023 After the successful Chandrayaan-3 mission, the Indian Space Research Organization (ISRO) is now gearing up…
-

Bray Wyatt Death Reason : पूर्व WWE चैंपियन ब्रे वायट का हार्ट अटैक से निधन, 36 साल की उम्र में ली आखिरी सांस
All About Bray Wyatt Death Reason ( 36 साल की उम्र में ली आखिरी सांस ) Bray Wyatt Death Reason…
