


Table of Contents


Danish pastries, also known as “wienerbrød” in Denmark, are a delectable and iconic pastry enjoyed worldwide. Originating in Denmark during the 19th century, these pastries have become a cherished part of Danish culture and a staple in many bakeries worldwide.
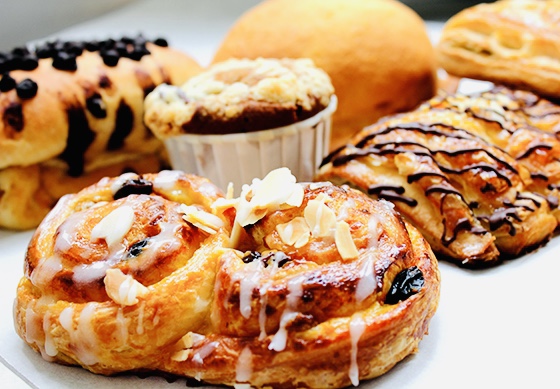
The pastry dough is made from yeast-leavened dough, layered with butter and folded repeatedly, creating a flaky, buttery texture. Common shapes include the classic rectangular, twisted pretzel-like knots, or round swirls, each filled with various sweet or savory fillings such as fruit, cream, marzipan, custard, chocolate, or cheese.
Traditional Danish pastries include “spandauer” (filled with custard or raspberry jam), “kringle” (almond-filled pretzel-shaped), and “wienerstang” (flaky almond pastry). These pastries are often topped with icing, sliced almonds, or sugar, enhancing their visual appeal and flavor.
In Denmark, enjoying “kaffebord” (coffee table) with an assortment of Danish pastries is a cherished tradition. The Danish pastries have become so beloved that they are not just confined to Denmark but are found in bakeries around the world, delighting people of all ages with their irresistible taste and craftsmanship. Whether paired with a cup of coffee or enjoyed as a sweet treat, Danish pastries continue to be a timeless and indulgent delight cherished globally.
All About Danish Pastries Recipe:

Ingredients Of Danish pastries Recipe:
To make Danish pastries, you’ll need the following ingredients:
- 2 1/4 cups all-purpose flour
- 1/4 cup granulated sugar
- 1 teaspoon salt
- 1 packet (2 1/4 tsp) active dry yeast
- 1/2 cup milk
- 1/4 cup water
- 1 large egg
- 1 cup unsalted butter (cold, cut into small pieces)
- Your choice of fillings (e.g., cinnamon sugar, fruit preserves, or almond paste)
Step By Step Instructions Of Danish pastries Recipe:


Step 1: Prepare the Dough
- In a large bowl, whisk together flour, sugar, and salt. Make a well in the center.
- Warm the milk and water until it’s lukewarm (around 110°F/43°C). Sprinkle the yeast over the liquid, and let it sit for 5 minutes until it becomes frothy.
- Pour the yeast mixture into the well in the dry ingredients. Add the egg. Mix everything until a rough dough forms.
- Turn the dough out onto a floured surface and knead for about 5 minutes until smooth.
- Cover the dough with a clean kitchen towel and let it rest for 10 minutes.
Step 2: Incorporate Butter into the Dough
- Roll out the dough on a floured surface into a rectangle, about 12×18 inches.
- Scatter a third of the cold, chopped butter over two-thirds of the dough.
- Fold the dough like a letter: Bring the unbuttered third over the middle third, then fold that over the buttered third.
- Turn the dough 90 degrees and repeat the rolling and folding process.
- Wrap the dough in plastic wrap and refrigerate for 30 minutes to chill the butter.
Step 3: Create Layers through “Turns”
- Remove the chilled dough from the fridge and place it on a floured surface with the folded edge facing you.
- Roll the dough again into a rectangle and fold it as before (like a letter).
- Repeat this rolling and folding process, chilling the dough for 30 minutes between each turn, for a total of three “turns.”
Step 4: Shape the Danish Pastries
- Divide the dough into two portions. Roll out the first portion into a 1/4-inch thick rectangle.
- Cut the rectangle into squares or rectangles, depending on your desired size.
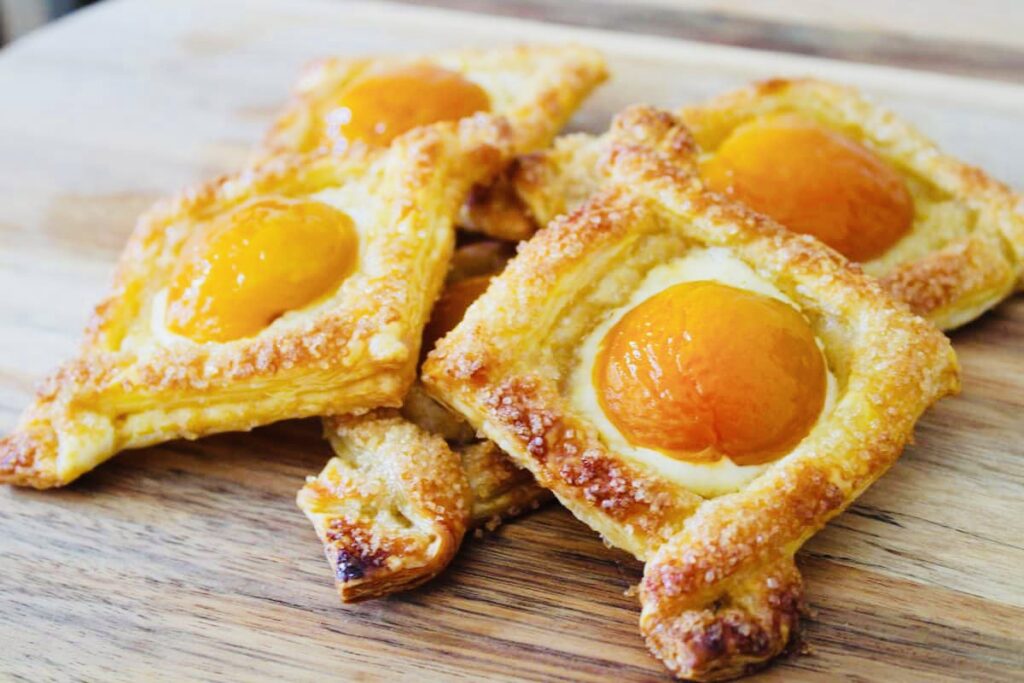
- For fruit-filled pastries, place a spoonful of your chosen filling in the center of each square. For cinnamon swirls, sprinkle cinnamon sugar over the dough.
- Fold the corners of each square toward the center, pressing them lightly together to seal the filling.
- Repeat the process with the second portion of dough.
Step 5: Final Rise and Baking
- Place the shaped pastries on a baking sheet lined with parchment paper.
- Cover the pastries with a clean kitchen towel and let them rise at room temperature for about 1 to 1.5 hours until they have doubled in size.
- Preheat your oven to 375°F (190°C) during the final minutes of the rising time.
- Brush the pastries with an egg wash (1 egg beaten with a tablespoon of water) for a shiny finish.
- Bake the Danish pastries in the preheated oven for 15-20 minutes or until golden brown and flaky.
- Let them cool on a wire rack before serving.
Congratulations! You’ve successfully made delicious Danish pastries. Enjoy them fresh, and feel free to experiment with various fillings and shapes to create your favorite pastries. Happy baking!
Related Post:
Black Forest Cake Recipe | Just In 5 Easy Steps.
Coconut Cream Pie Recipe | Just In 8 Easy Steps.
Gooey Butter Cake Recipe | Just In 6 Easy Steps.
Salted Caramel Tuffles Recipe | Just In 5 Easy Steps.
Apple Turnovers Recipe | Just In 6 Easy Steps.
-

Toyota Innova HyCross: World First Ethanol Fuel Car Launch India
Toyota Innova HyCross: World First Ethanol Fuel Car Toyota Motor has unveiled the world’s first fully ethanol-powered car(World First Ethanol…
-

Aditya L1 Mission Launch Date, Budget, Solar Mission
All About Aditya L1 Mission 2023 After the successful Chandrayaan-3 mission, the Indian Space Research Organization (ISRO) is now gearing up…
-

Bray Wyatt Death Reason : पूर्व WWE चैंपियन ब्रे वायट का हार्ट अटैक से निधन, 36 साल की उम्र में ली आखिरी सांस
All About Bray Wyatt Death Reason ( 36 साल की उम्र में ली आखिरी सांस ) Bray Wyatt Death Reason…
